(How I spent my winter of 2014-15)
The hall bathroom and shower
was reconstructed in about 1999. The shower was a fiberglass insert. Over the
years the fiberglass held up great.....no issues.....except the staining was
not fixable.This winter my plans were to renovate the back utility porch. However, the shower needed immediate attention.
The first part of the project
was the tear out. First I needed to remove the fiberglass
shower. Before I go further, I need to
recommend 'Youtube' for all your DIY projects.This can be anything from an auto problem, to plumbing, electricity to
replacing a shower stall.
The fiberglass insert has a
flange around its borders to screw it to the studs. First, remove about 2 inches of wallboard
around the edge of the shower.
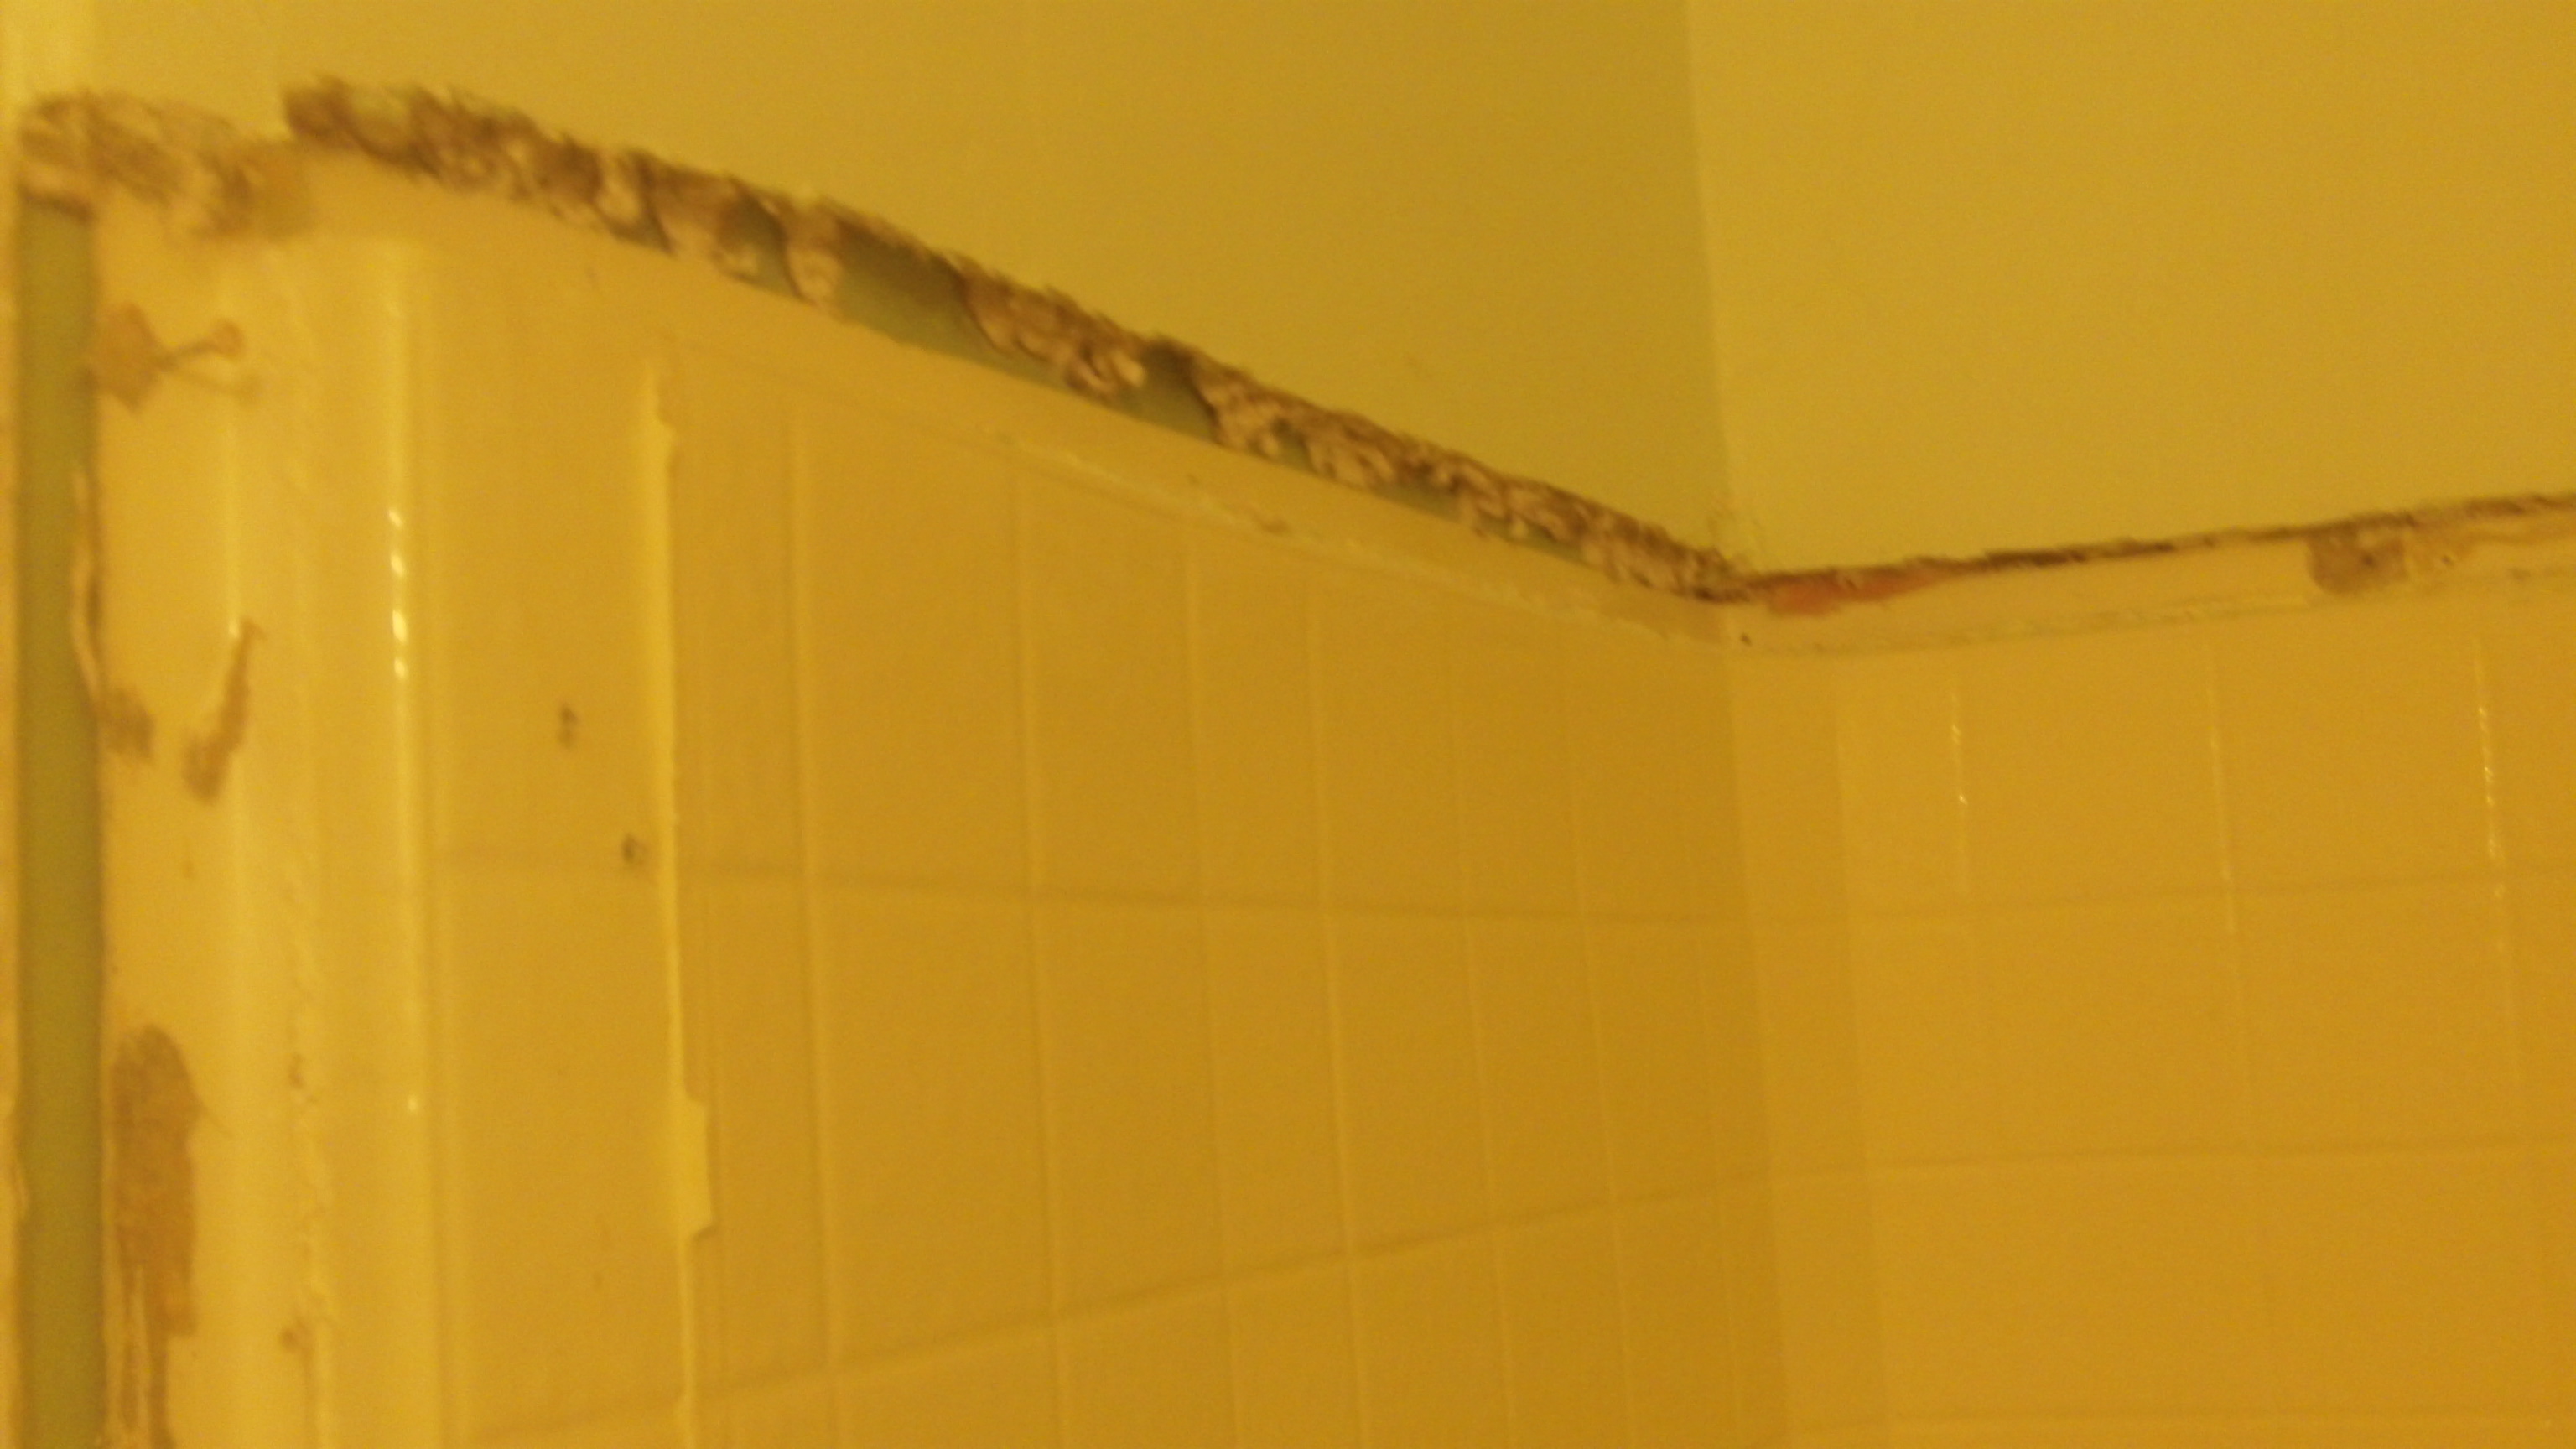
This will expose the screws
that hold the shower flange to the studs.
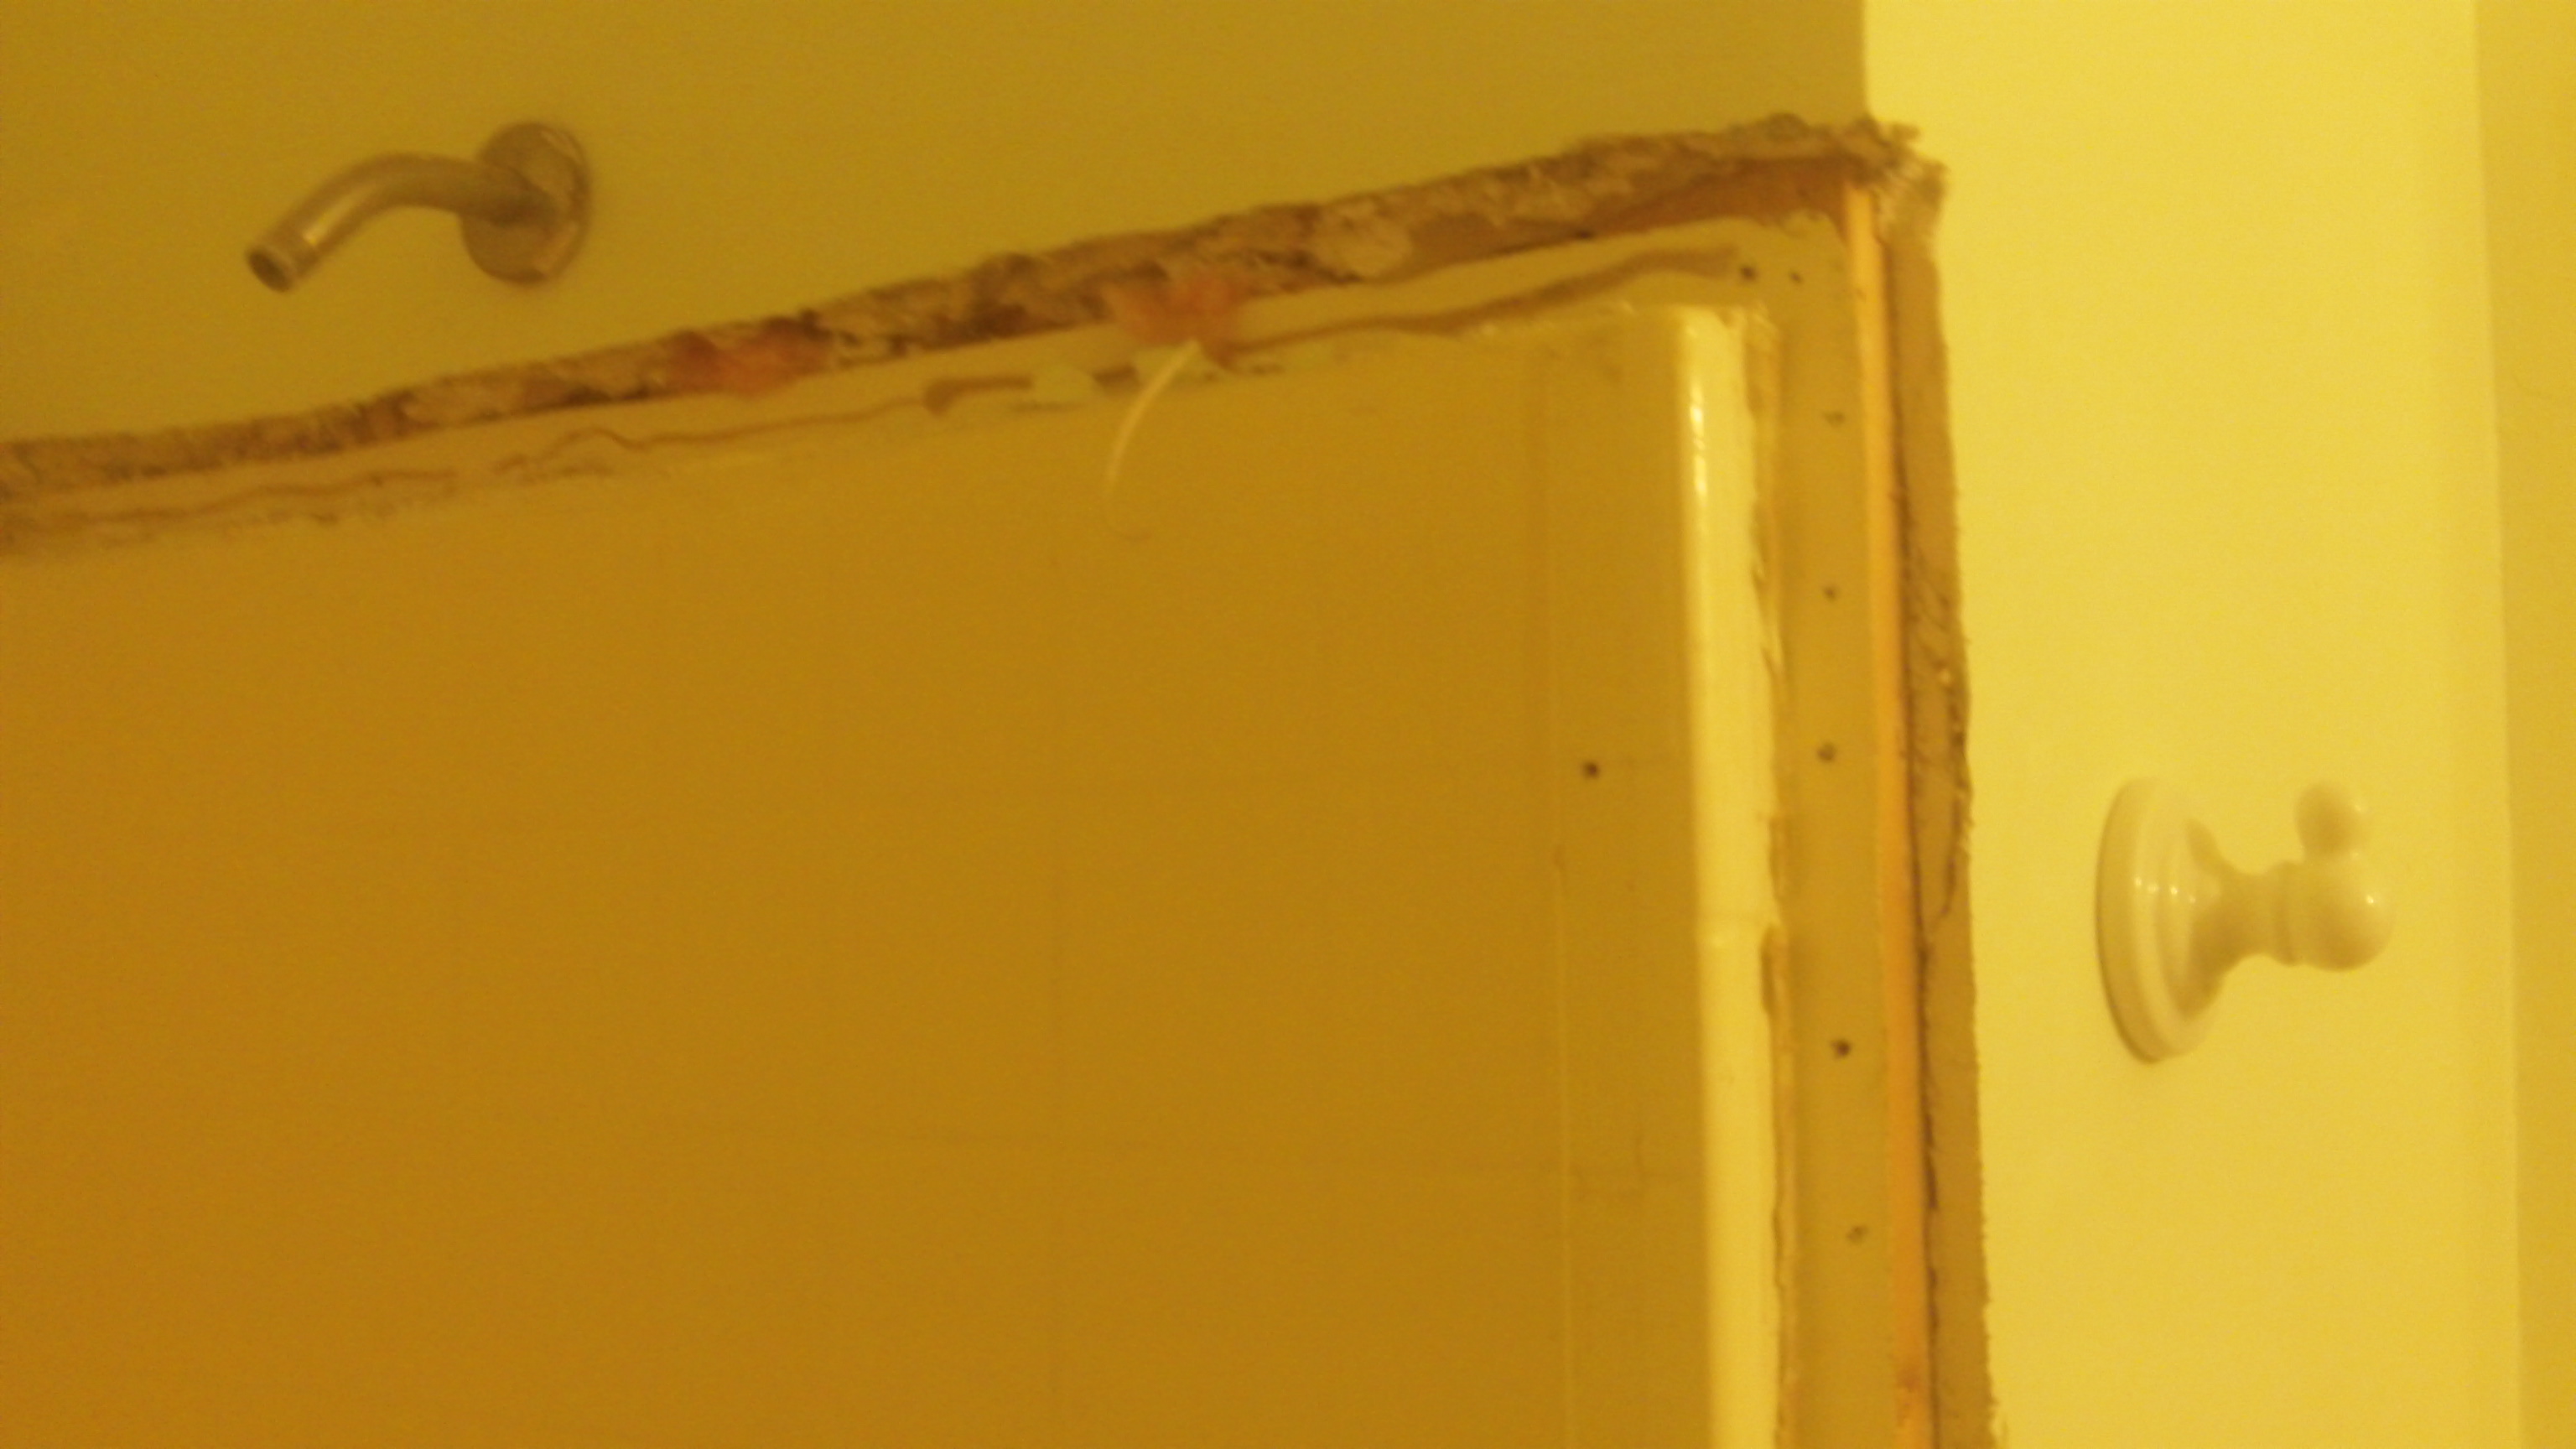
Next remove the screws
holding the flange to the studs: make sure you get them all.
Next, if you have a sawzall,
and you should if you do any self renovation, start cutting the plastic insert
in pieces. I started on the back wall
and cut all the way to the bottom. Then
I went sideways.
CAUTION. When you get to the wall with the plumbing, be extra careful not to cut into a copper pipe.
You will eventually get down
to the base.

Goodbye old shower. In Phoenix
we have a trash pick up called Bulk Trash. Four times a year they bring heavy equipment
and take anything you put on your front lawn: this can include appliances and
furniture. Since the bulk trash people don't like construction material, you have to break it into small pieces and mix it
with the other bulk trash on your lawn.


Your next challenge is to do
something about the old drain system that is welded in place on the drain
pipe. You need to remove this and
replace it with the new three piece drain assembly made for building a shower
pan for tiles. No doubt, the old shower
drain assembly was welded onto the shower drain so you will need to cut the
pipe just below the old shower drain fixture. This can be accomplished with an
attachment for your power drill.
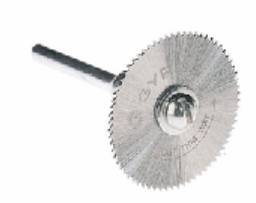
Attach the blade to your
drill, insert down the drain just below the level where the old drain assembly
was welded, and cut from the inside out. Remove the old assembly. Next, go
to your local hardware store and purchase a small section (one foot or shorter)
of pipe and a coupler.
You will replace the old
drain assembly with a three piece tile shower drain assembly. This you will need to purchase at a Home
Depot or Lowes.
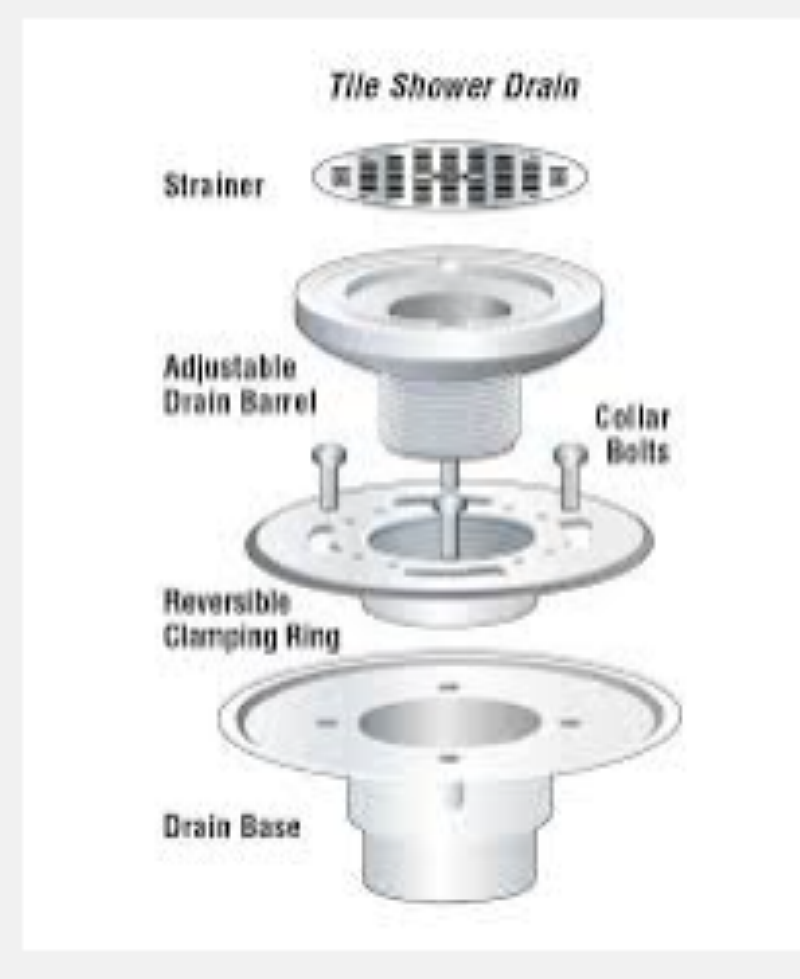
The bottom part, the drain
base is the part you weld to the drain pipe. Here is where you need to measure correctly. The top flange of the base must be at least
1/2 inch above your substrate (concrete or plywood. Cut the pipe to the proper length and assemble.
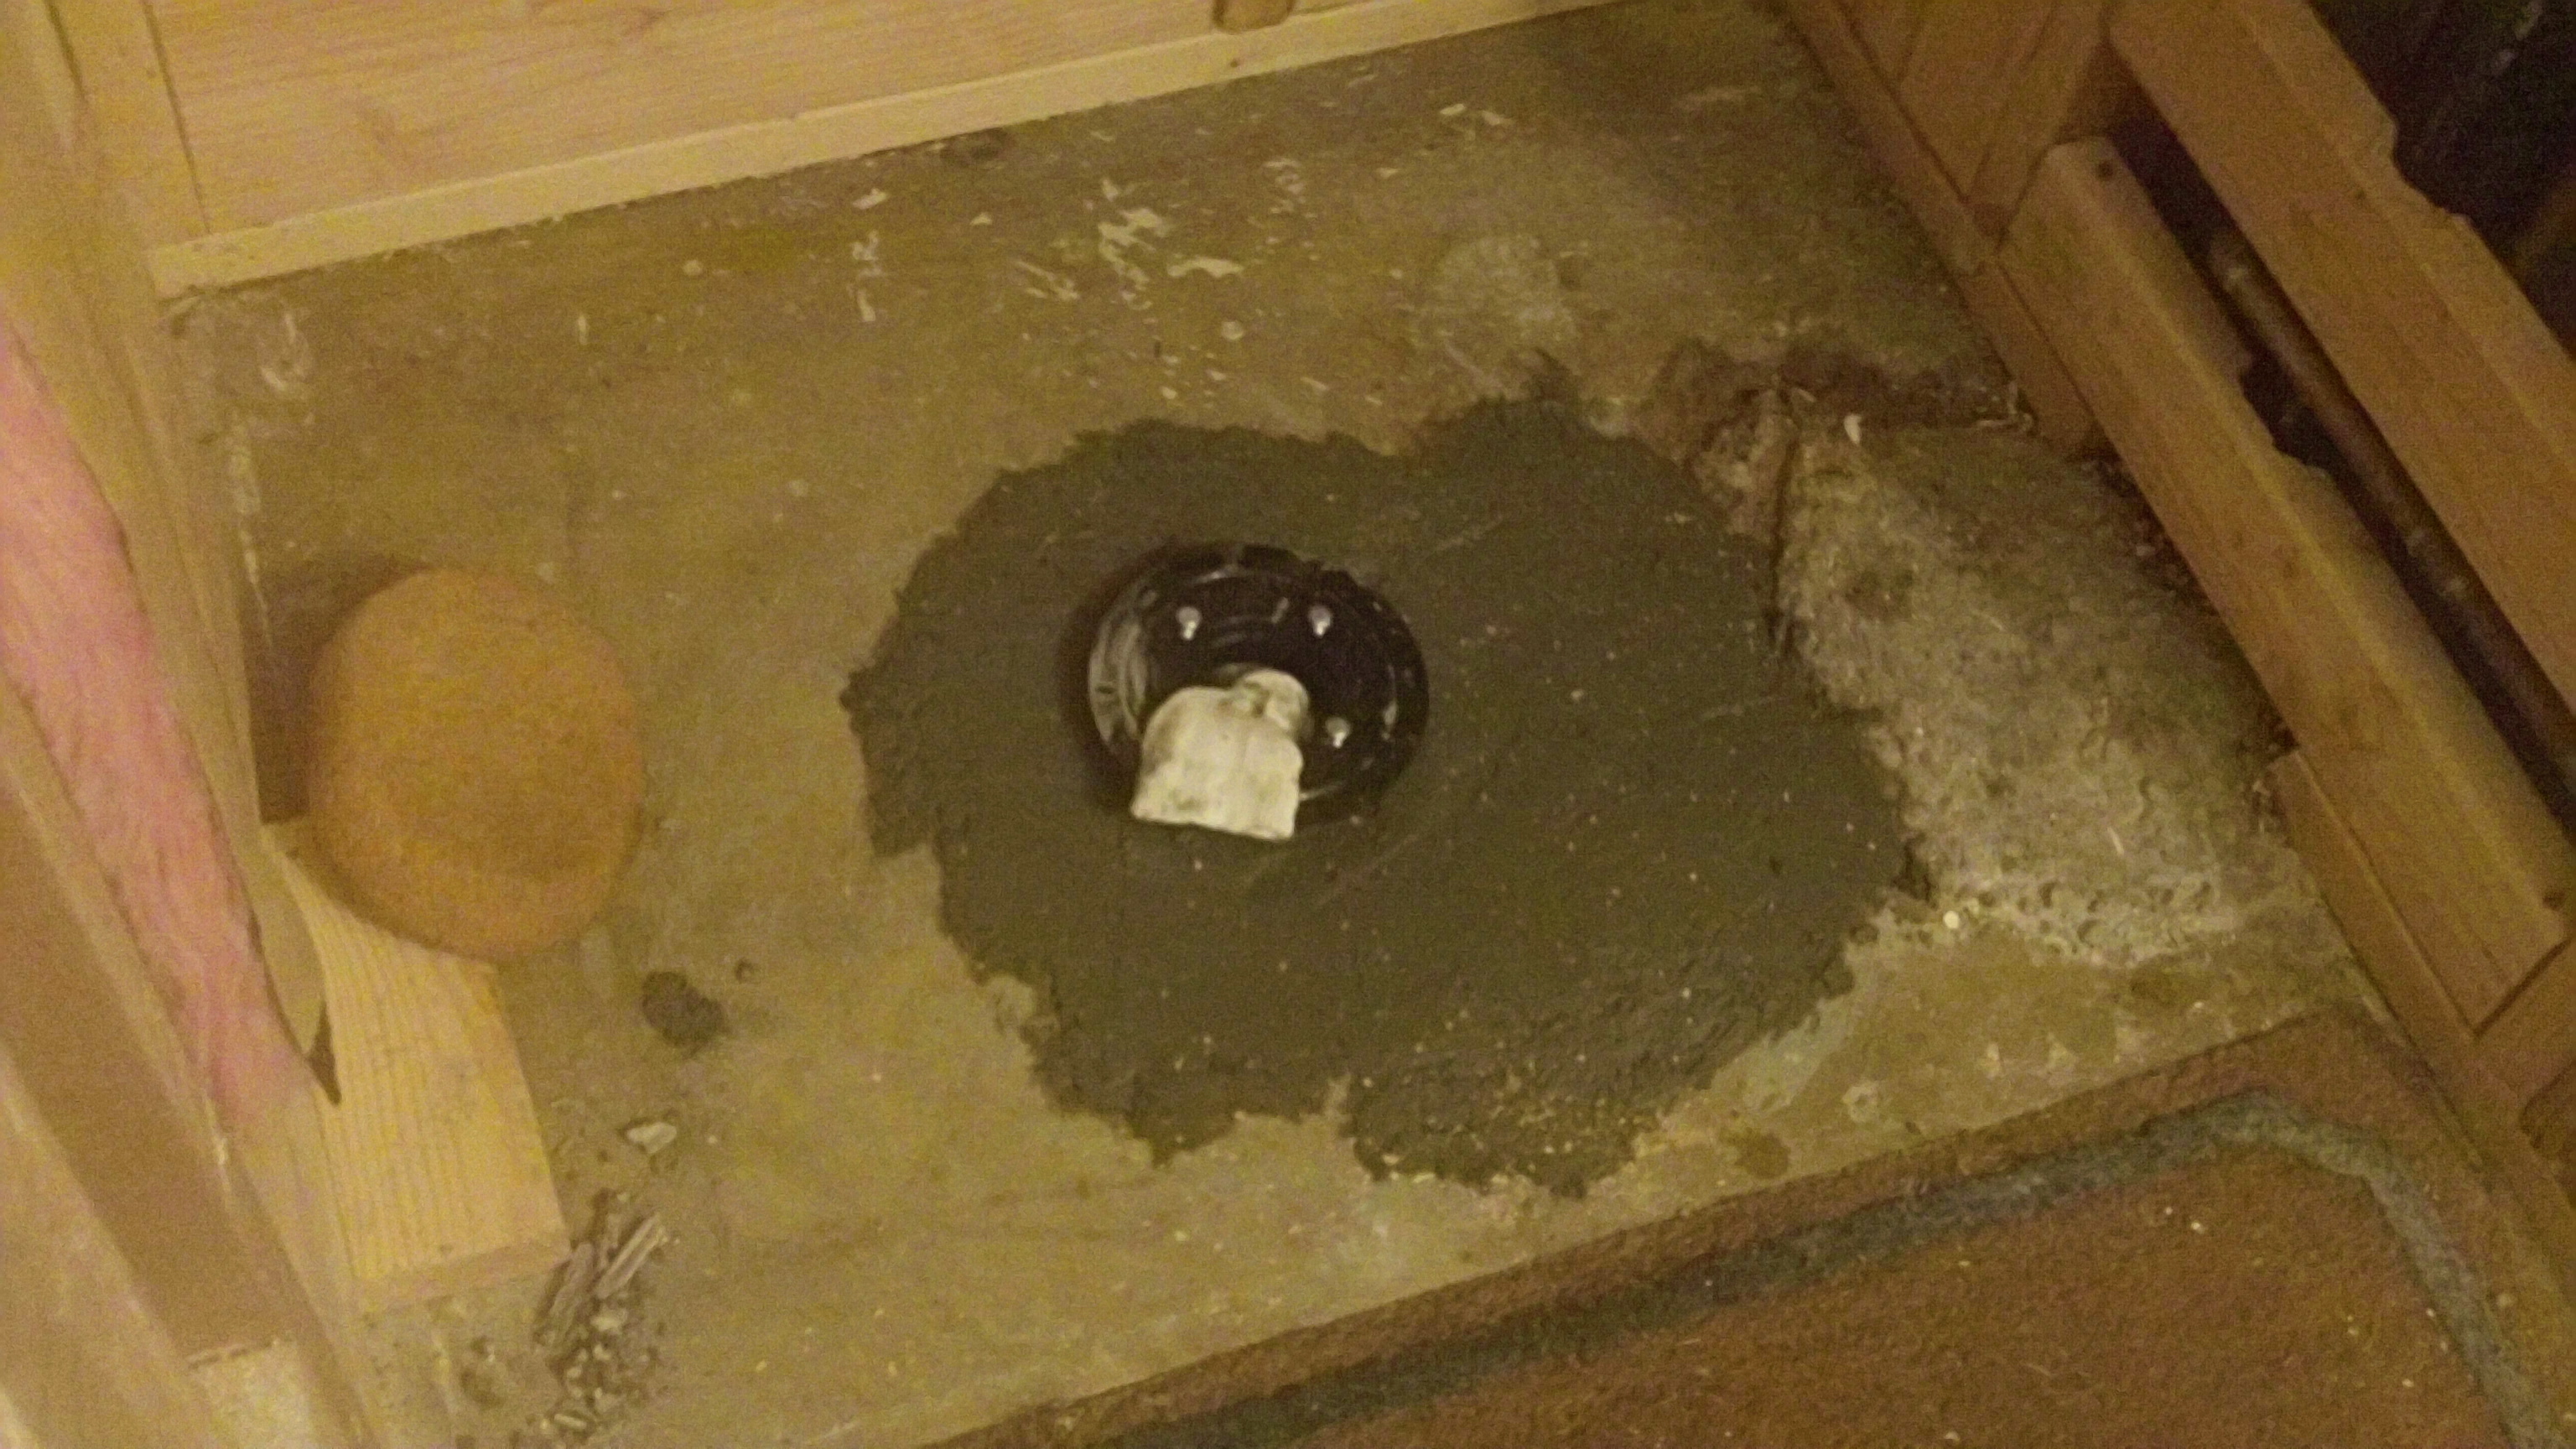
The base of the three piece
shower tile drain has been assembled. There was a hole around the pipe that needed to be filled in with
cement.
Next, you will want to make
sure your enclosure is plumb: meaning all the studs are even and the sides are
the same length.
Here we have a stud that was
not flush with the other studs so we added a metal stud to make it flush.

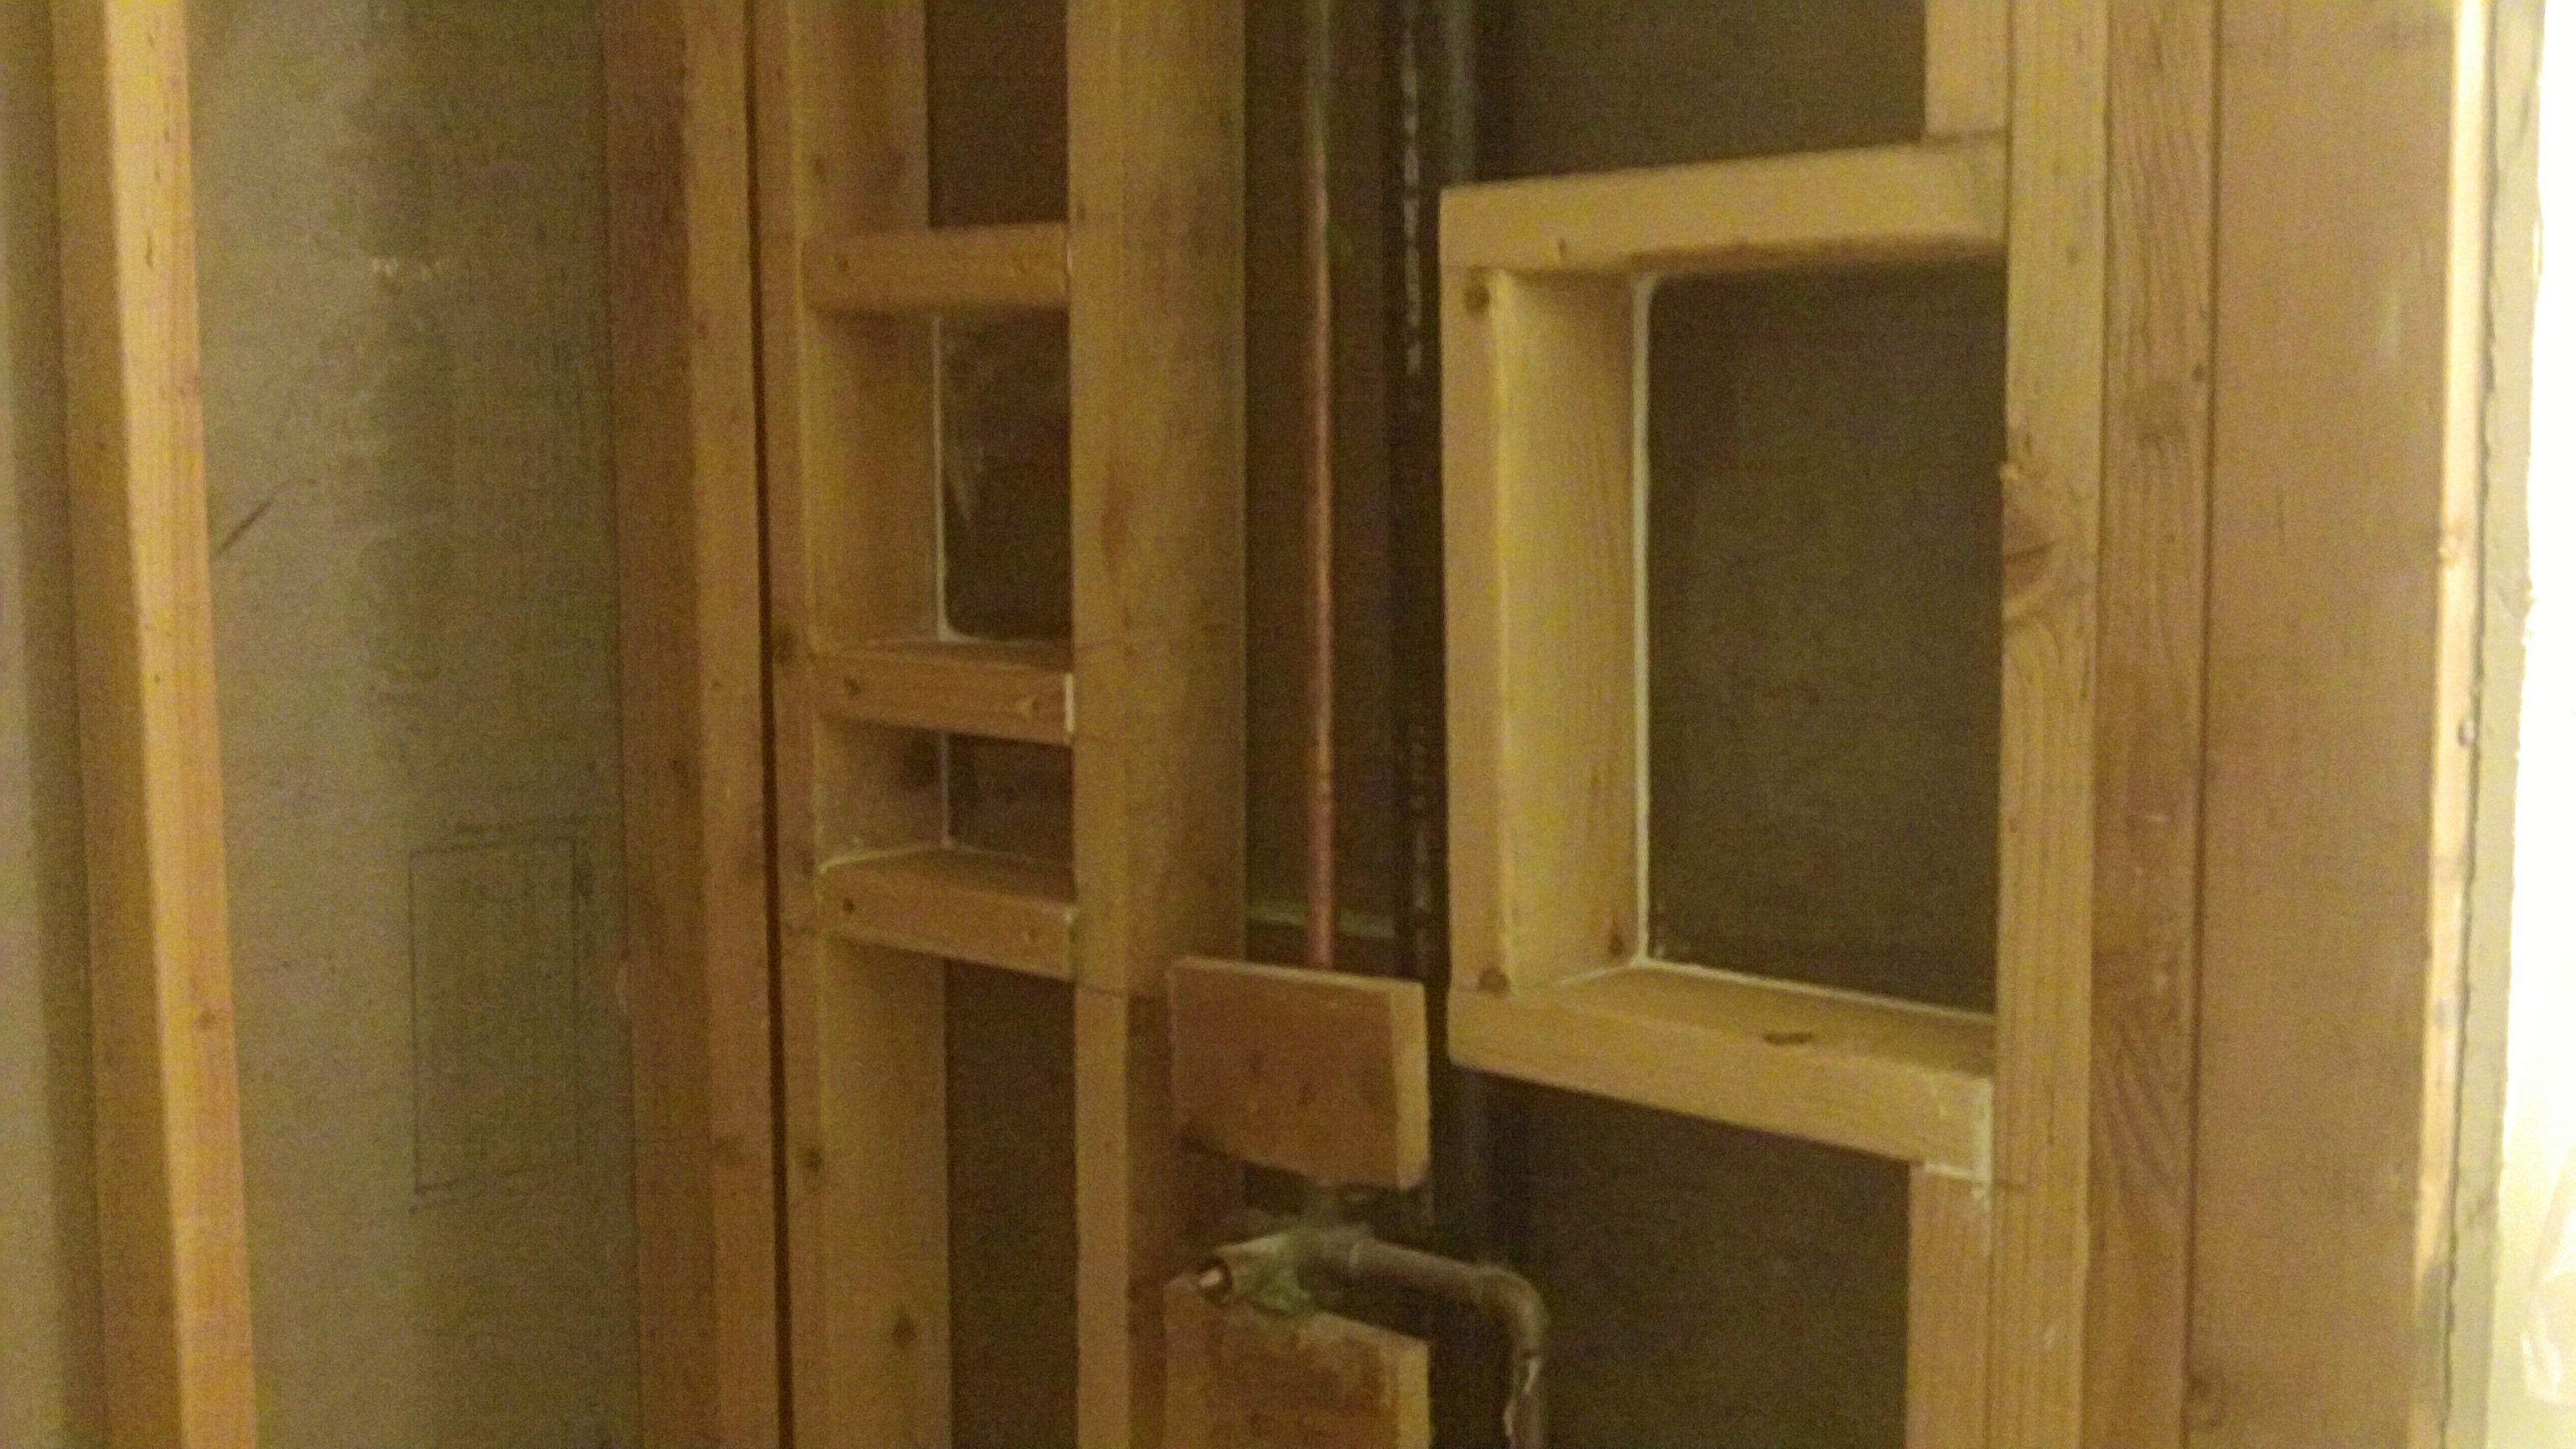
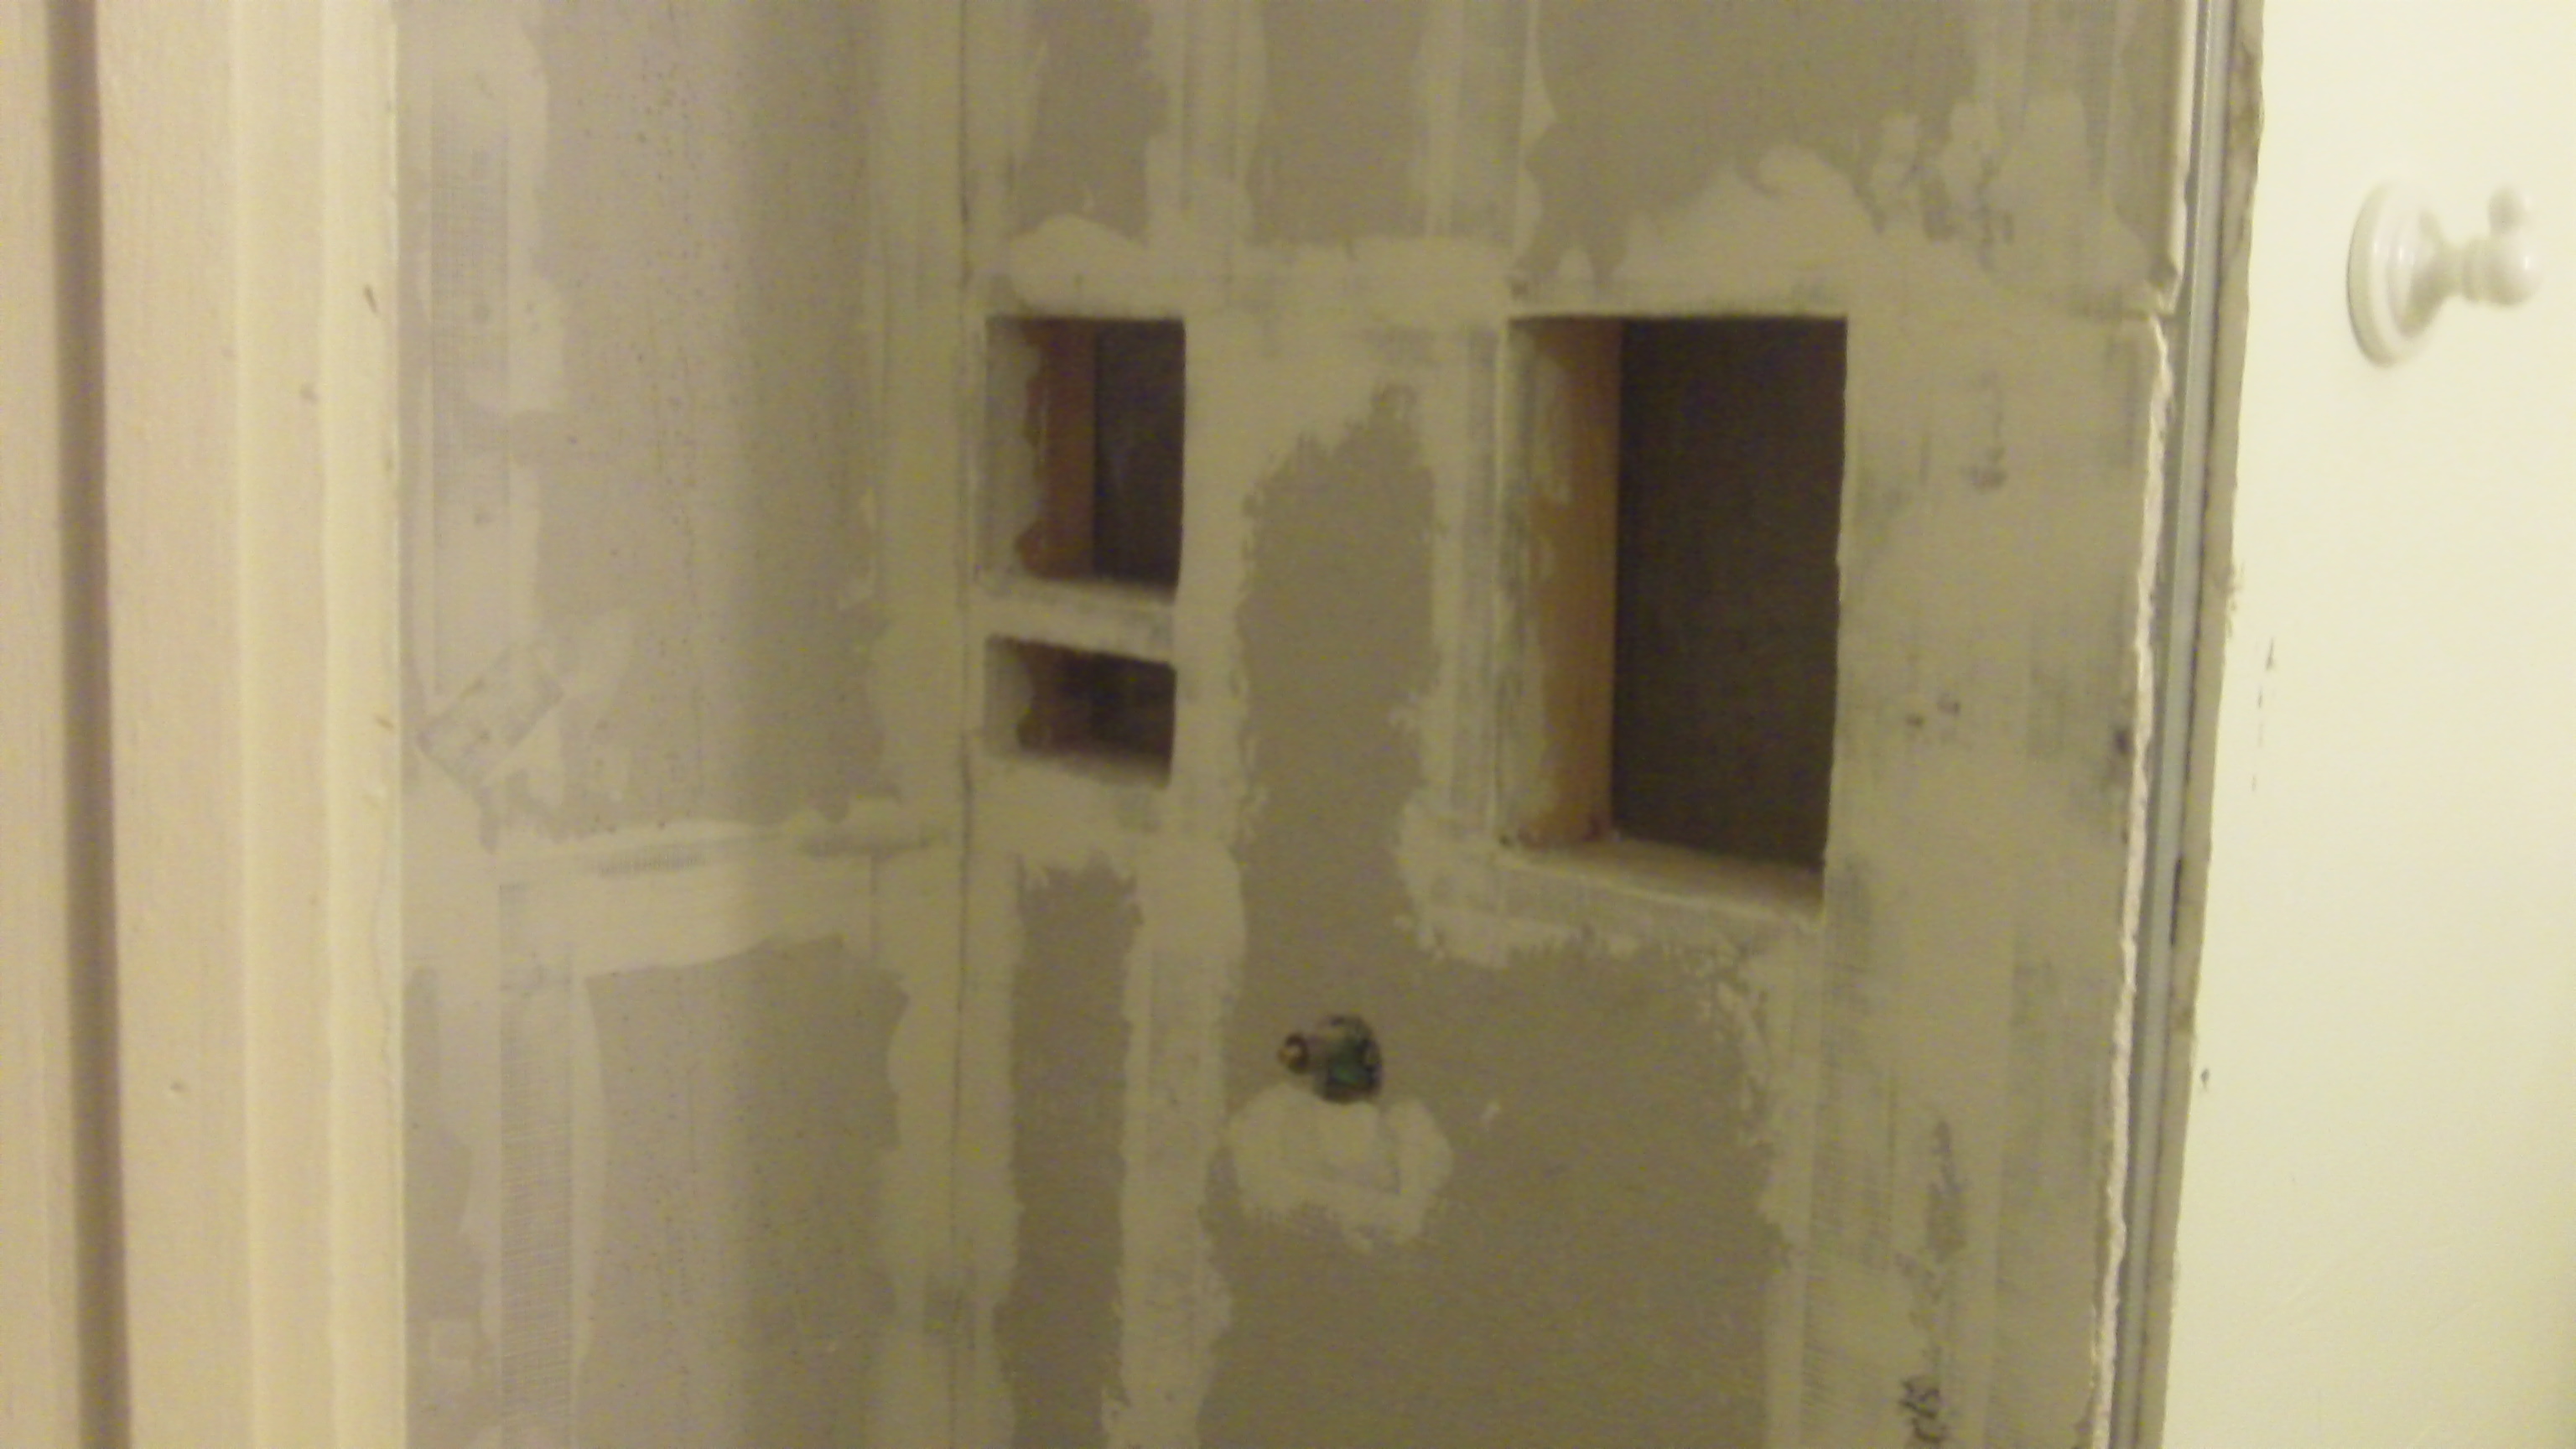
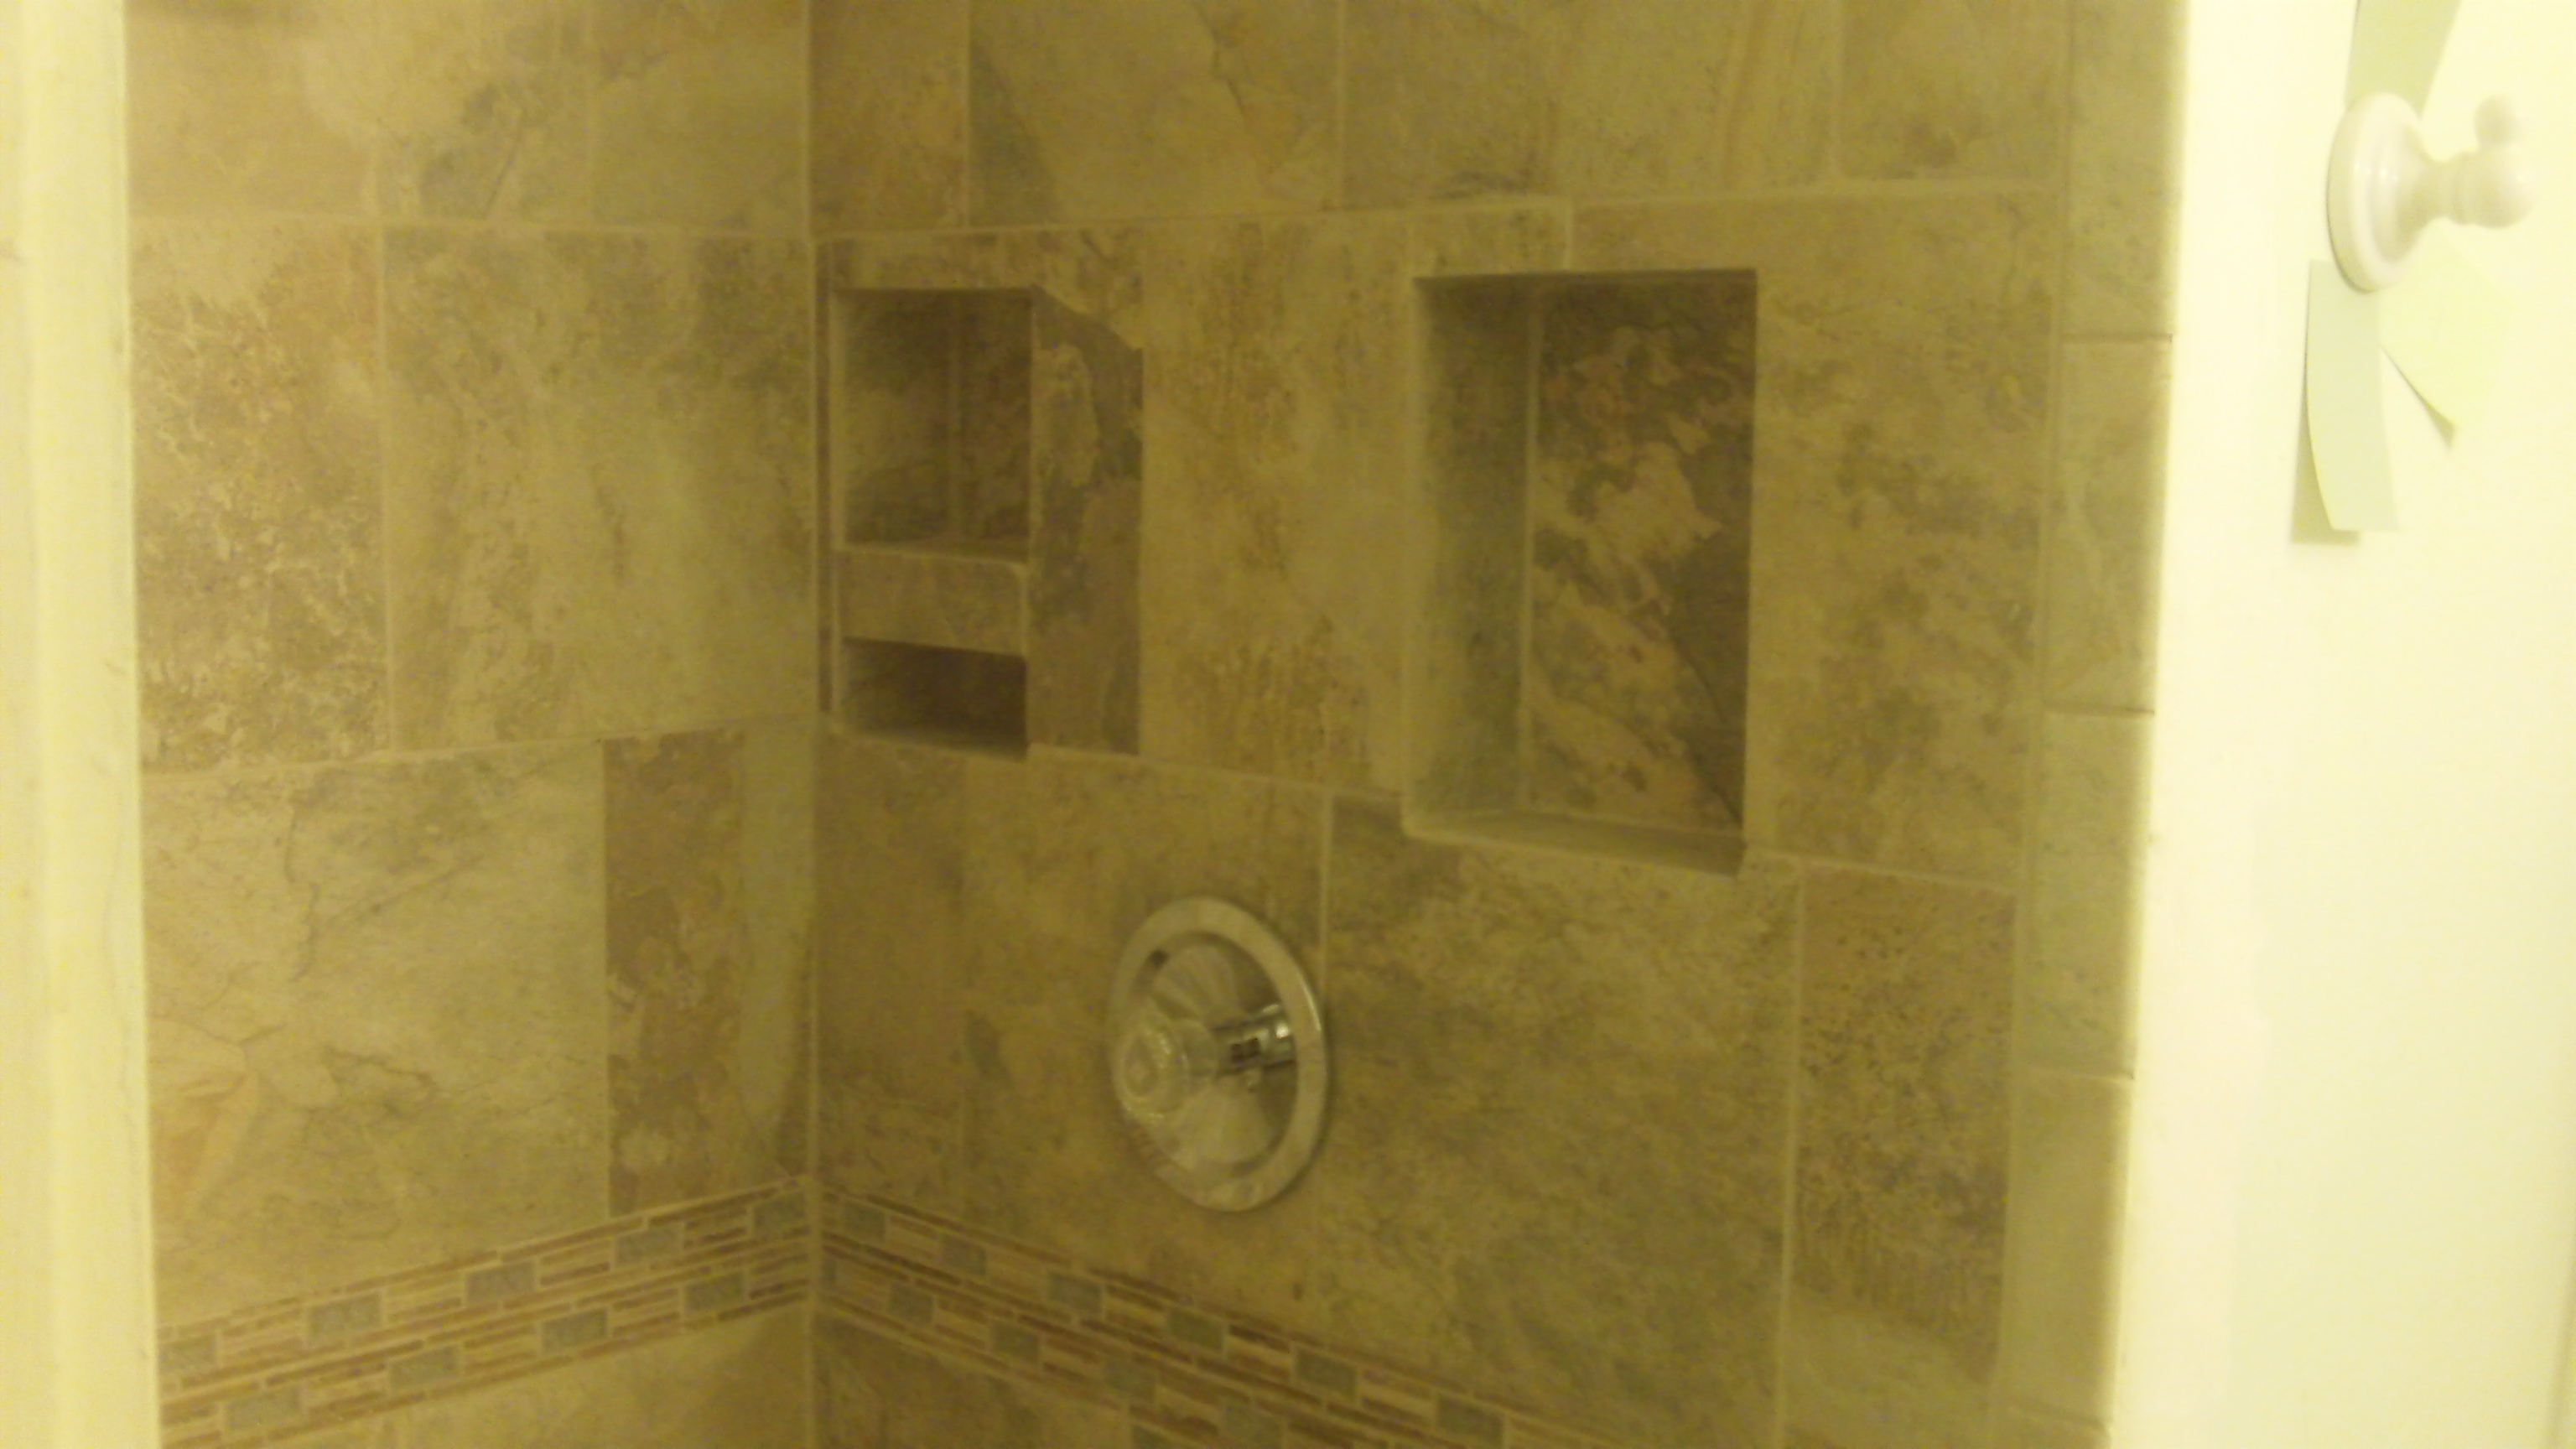
The next part is to build in
the 'niches' into the side walls. Our
shower project called for three niches. One tall niche for shampoo bottles, a 12 inch high opening as seen on
the right. The second niche (on the
left) is made of two parts. A lower part for a soap shelf and a second shelf for razors and
such.

Once you have installed the
vinyl, it now time to install the DuRock. DuRock is like wallboard except it is made of
cement. DuRock is one tough board. It is far superior to green board that a lot
of constructors use in wet areas. A high quality restaurant will use DuRock in the kitchen area. Imagine a 4 X 8 board, like wallboard, but
made of cement. The cement is held
together by a fiberglass mesh on both sides.

It is actually easy to
cut.Similar to
wallboard. Score with a box cutter and break it off. I suggest using
smaller pieces on a wall. Don't try to
put a 3 X 8 piece onto a side. Especially if you have water outlets to fit. A 4 X 8 foot piece of DuRock weighs over 80
pounds and very difficult to handle.
Here we have the top portion
of the shower water control cutout.
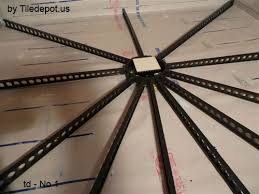
Next, we put on the last layer of cement, called 'floor mud.' Floor mud is 1 part cement and 5 parts sand. It is the base for the tile.
Guides are then put in place to
insure the pour slopes to the drain. The guides are made of plastic and measure from one inch tall down to 1/4 inch in
thickness.
Example
here.
You pour in the cement and level it from the
outside wall it along the line of the guides.
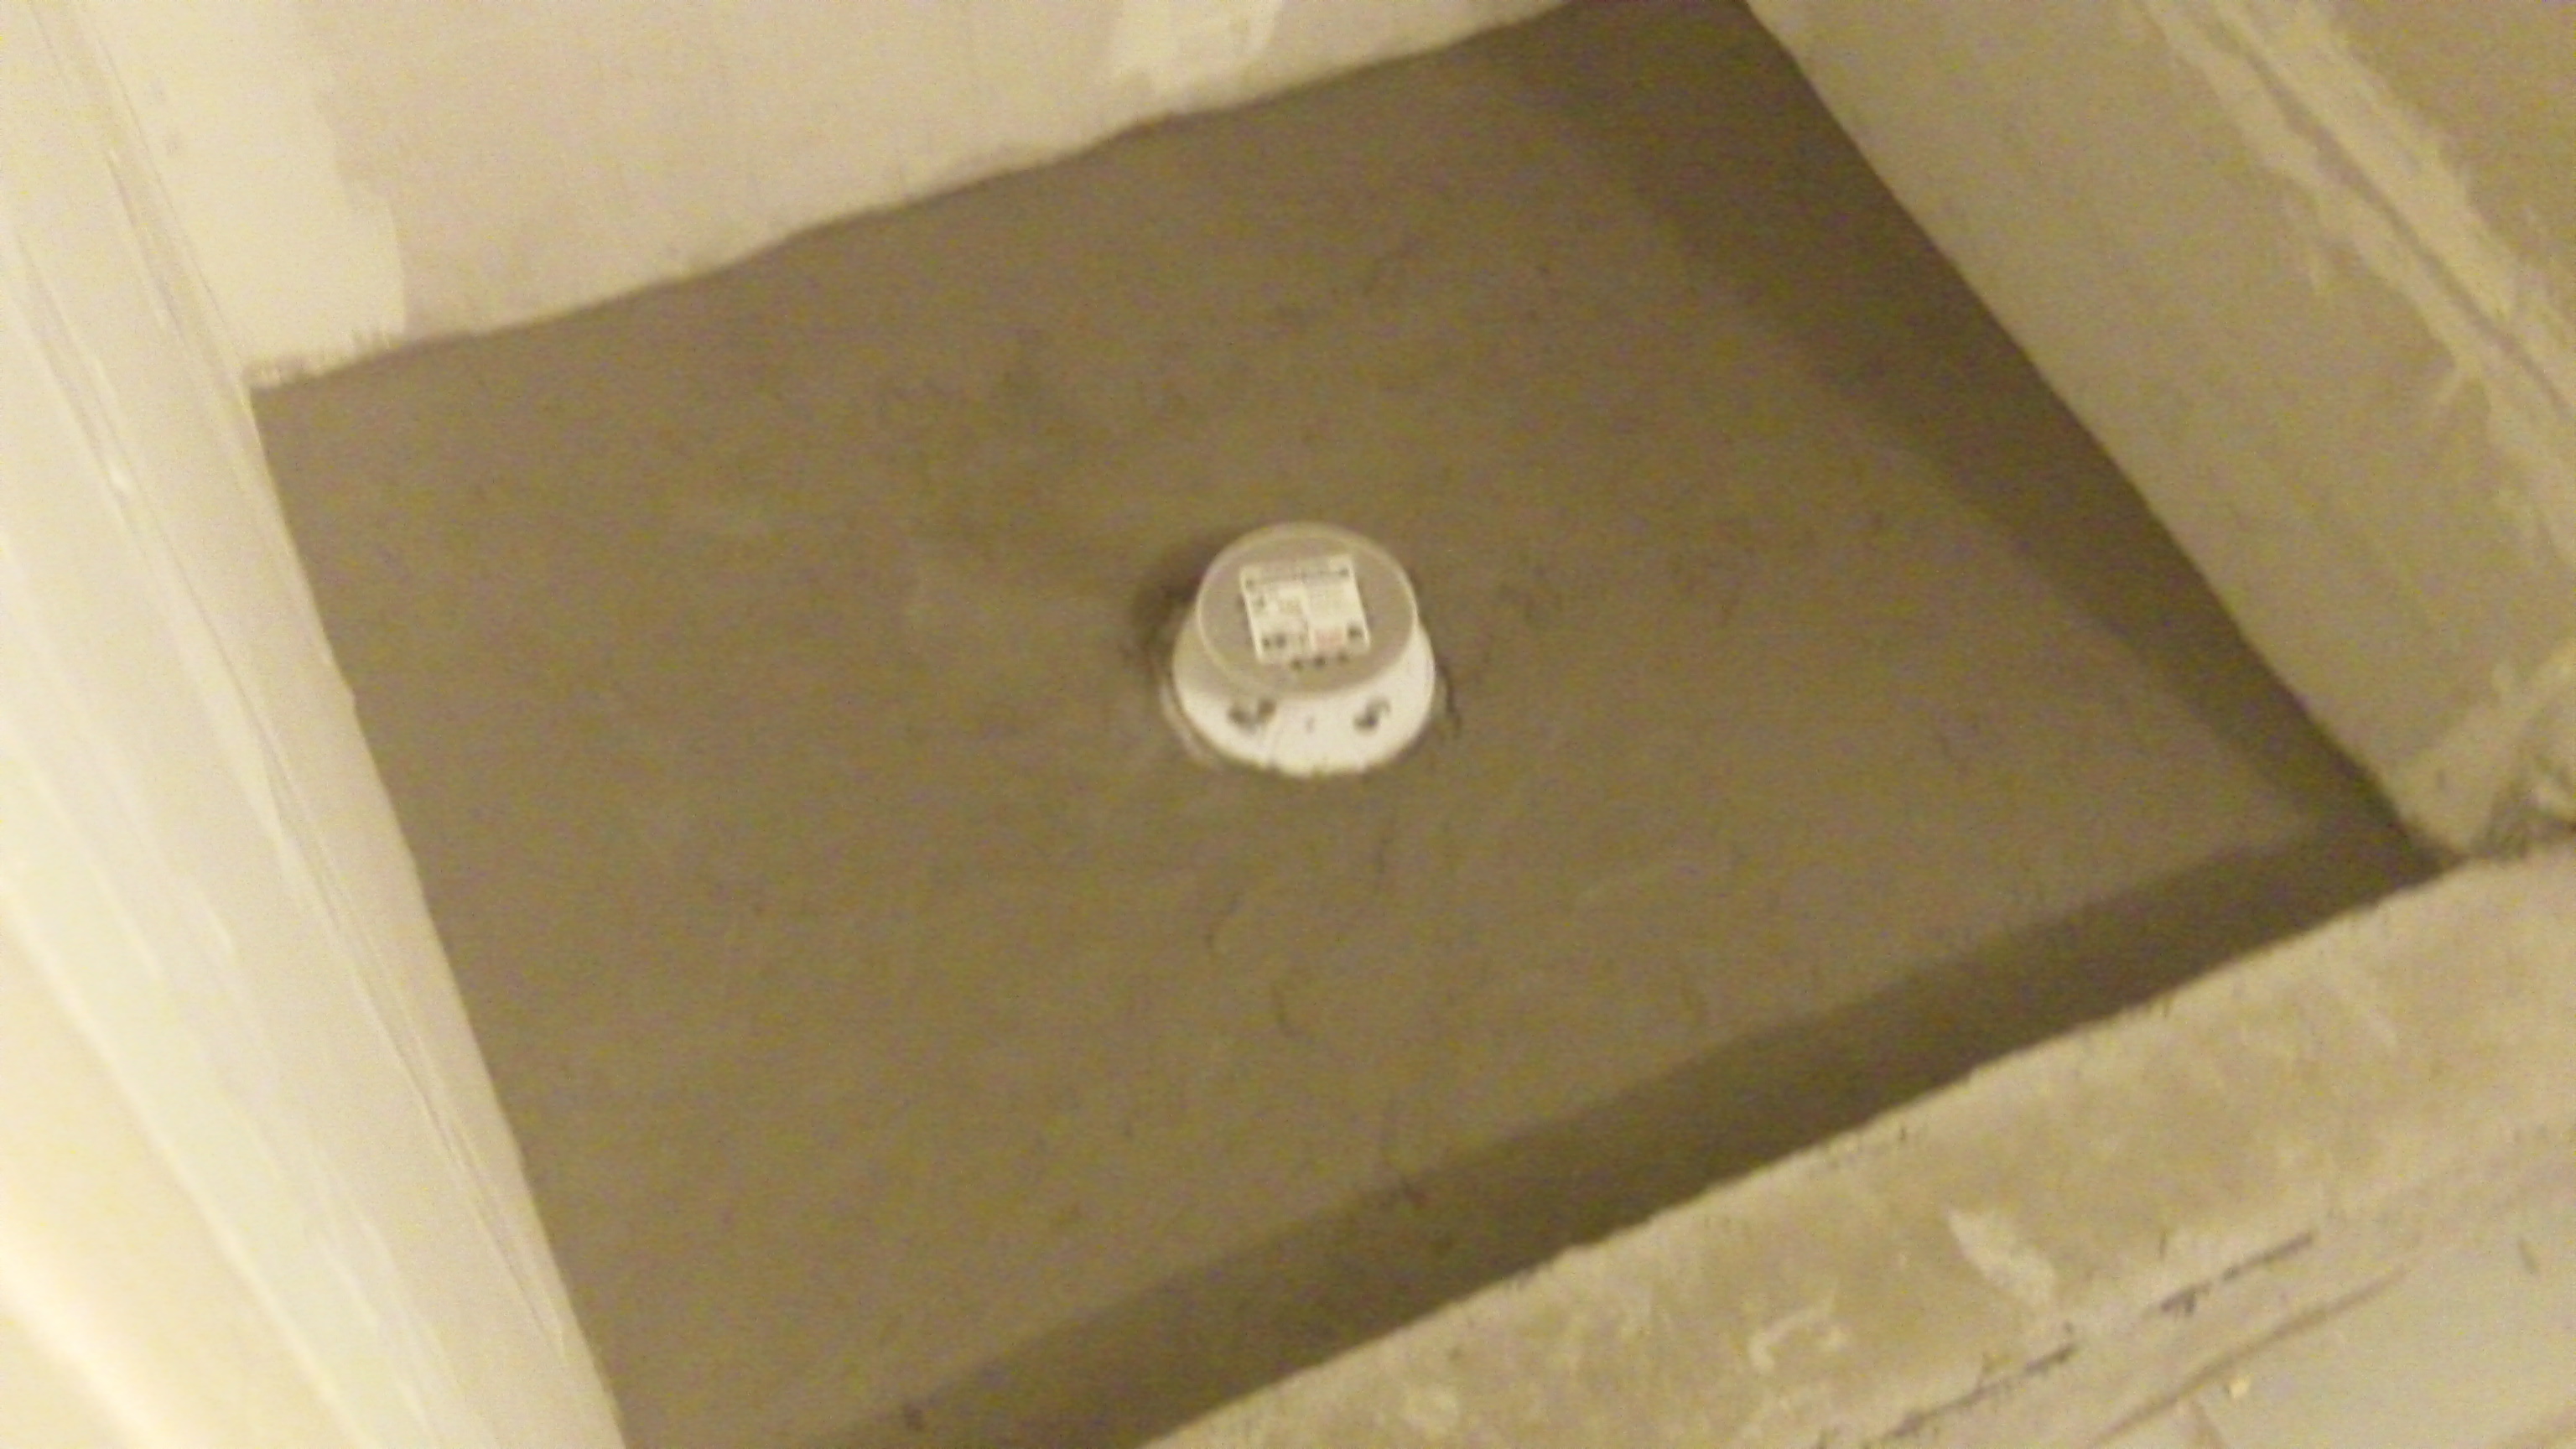
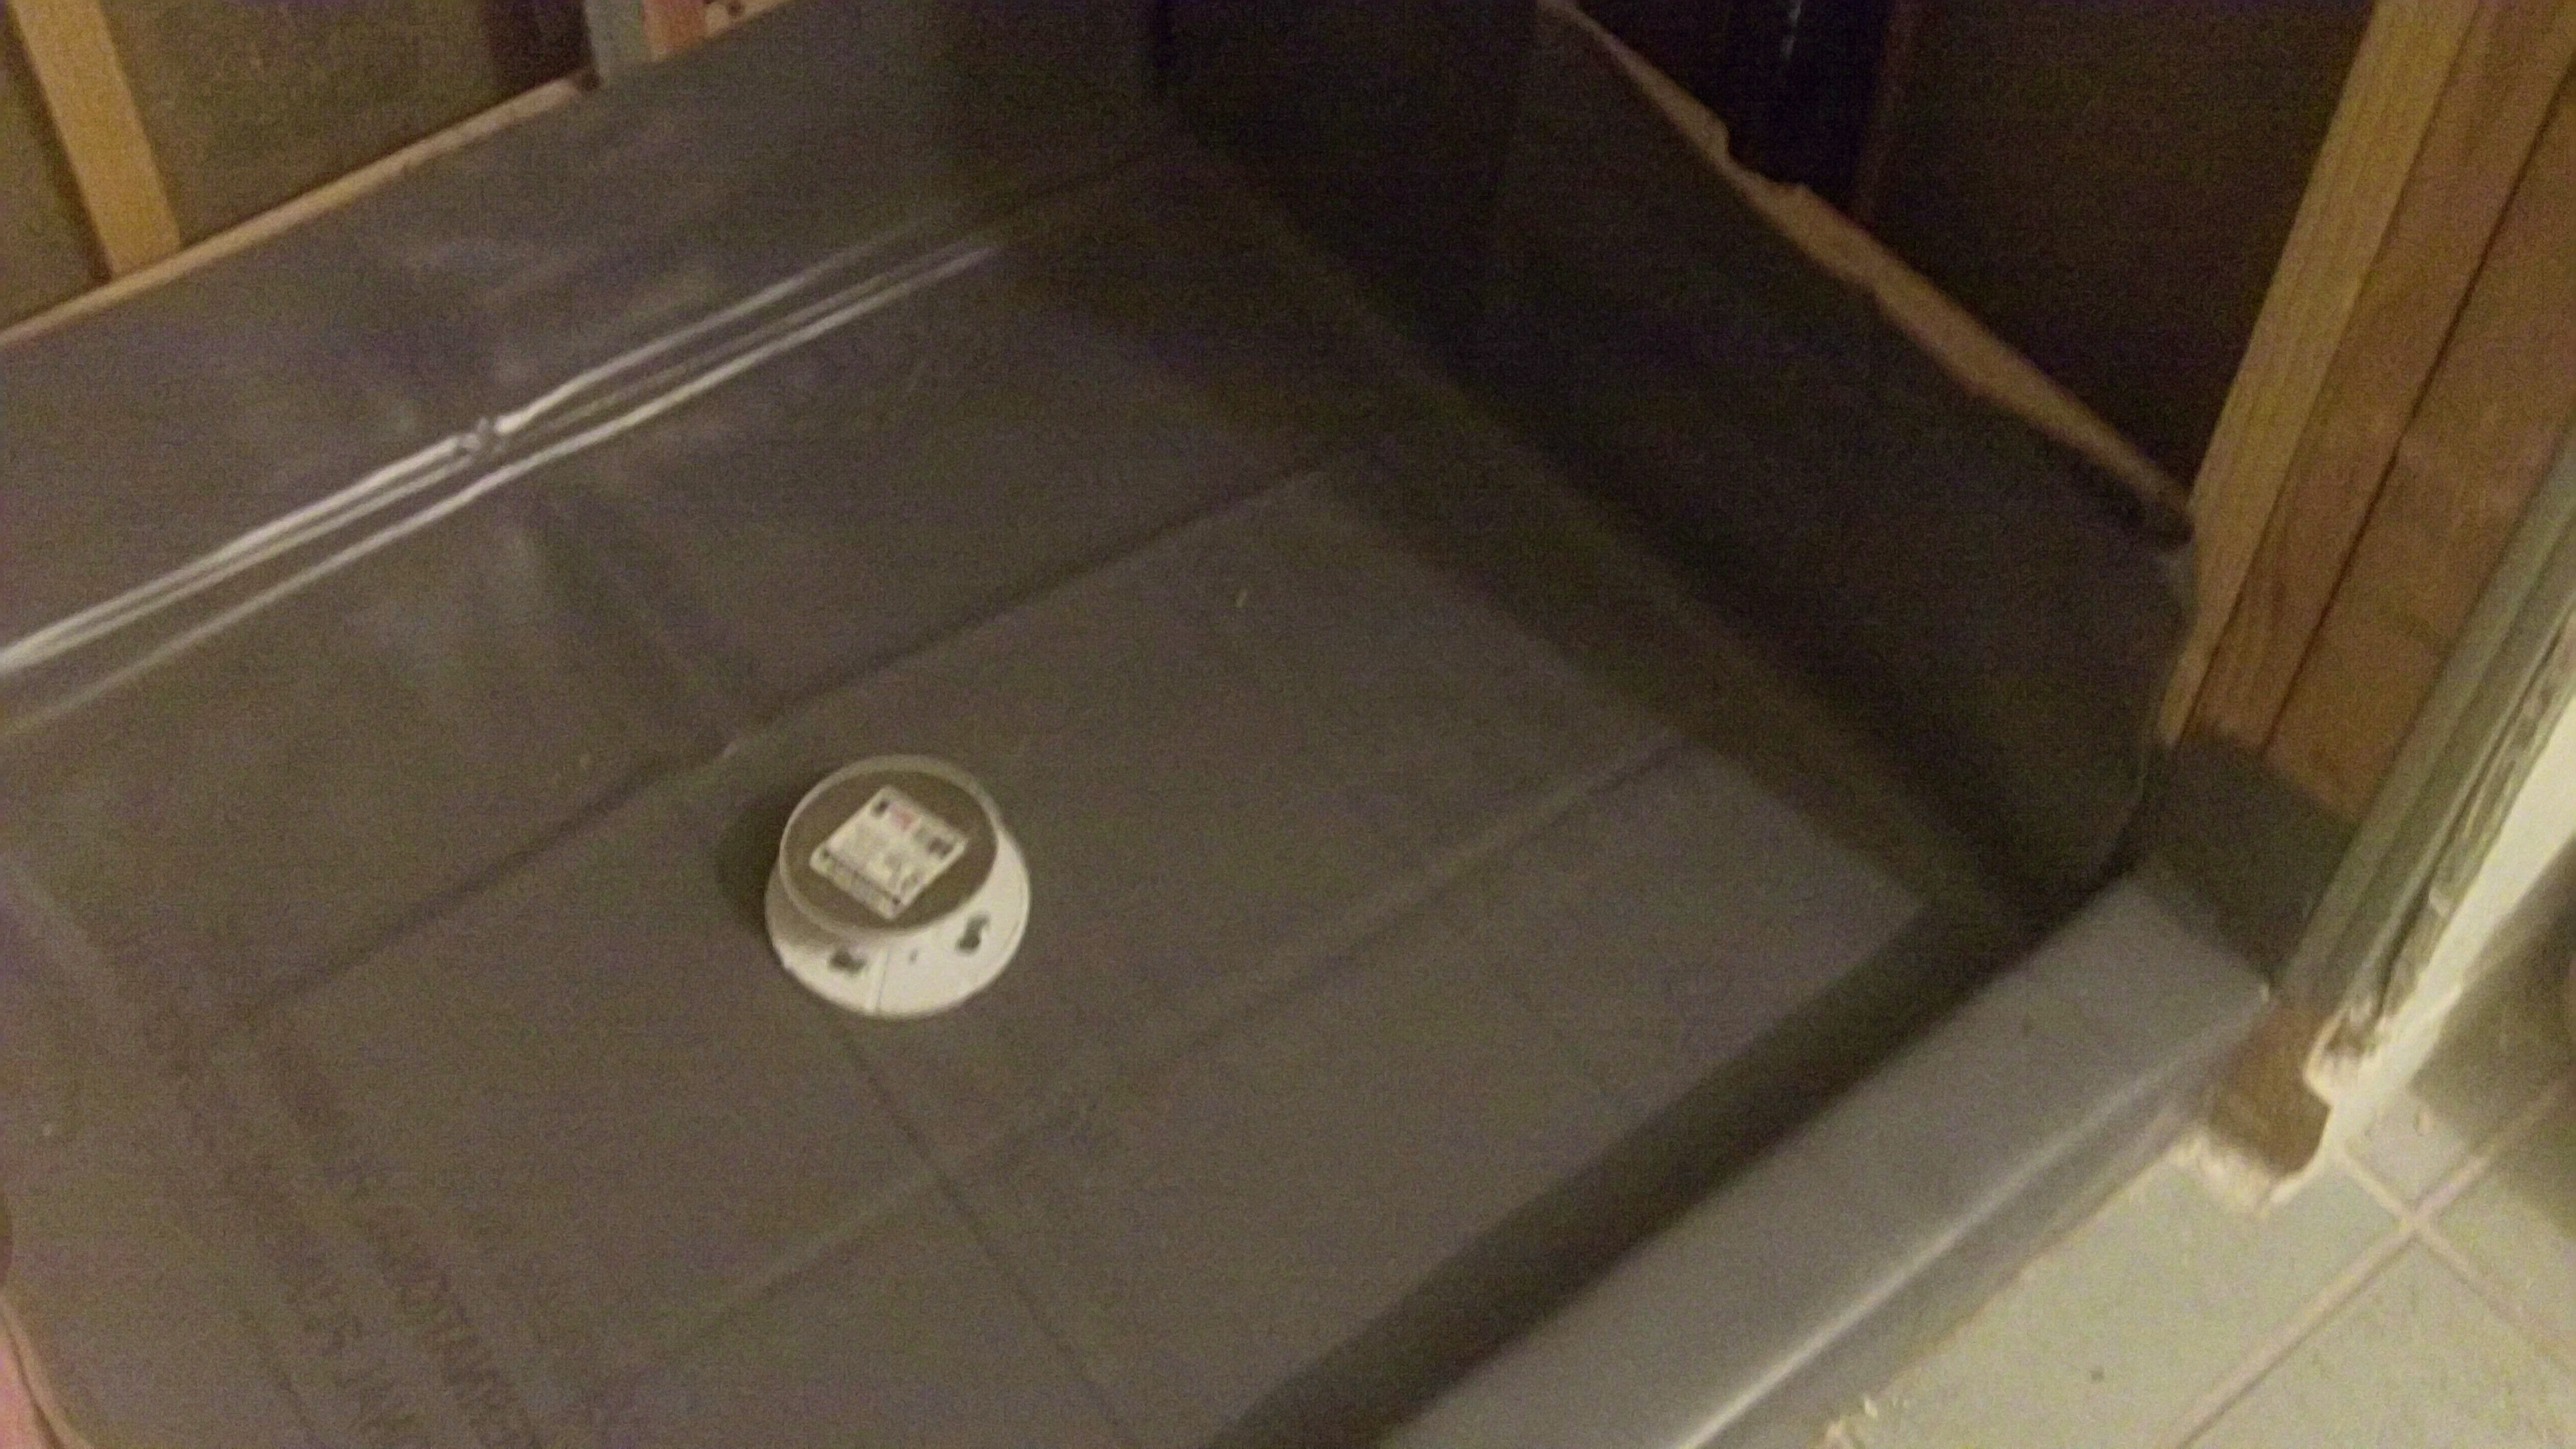
This sloped floor is now
ready for the tile. You can't see the
sloping but it is higher on the edges and gradually slopes down to the
drain. In the tiling process, the floor
is the last to be tiled. We will let this cure for a couple of days and then
proceed to the next step.
The next step is to build in
a corner shelf for a step or a bench. Many people build a wooden structure but because of the water and steam
and the possibility of damage, it was recommended to use a simple cinder block. Sturdy, easy to install and
no moisture worries. Because the floor is sloping from the outside to the center, it was necessary to grind the
bottom of the block at an angle so it would sit evenly on the floor and be
level at the top.

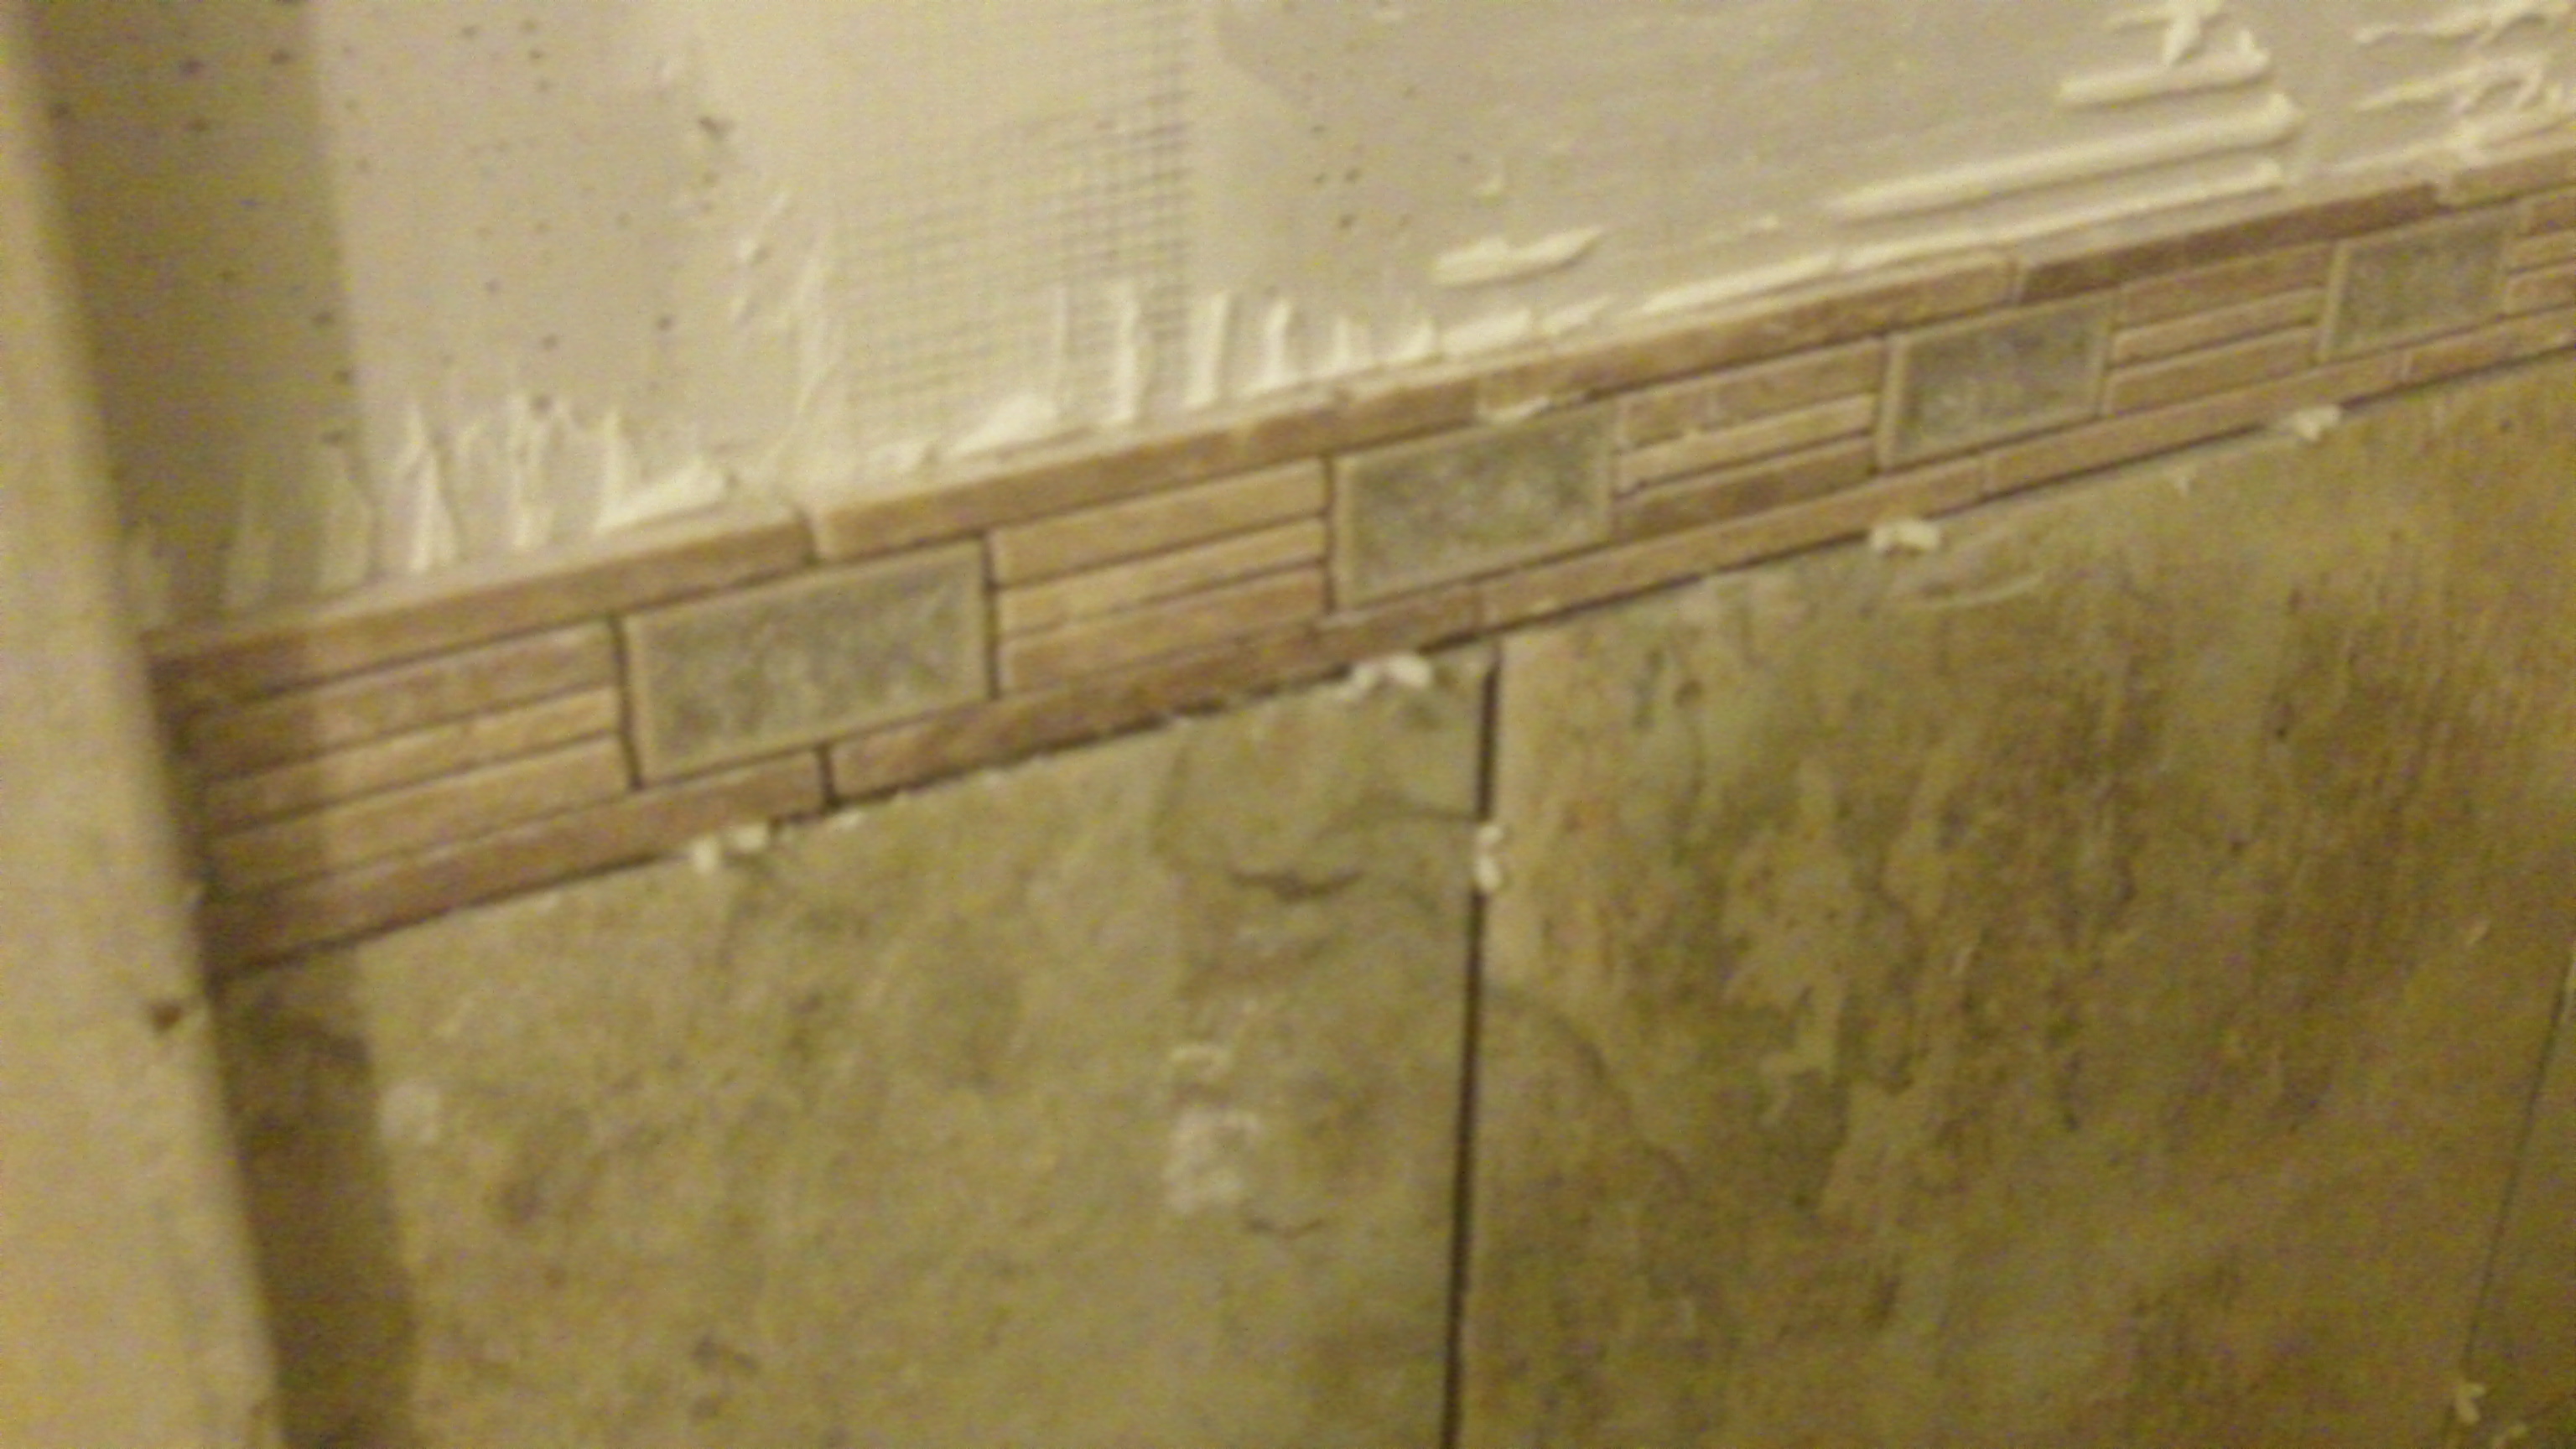
Around the base we also tile the shower dam and the corner block. Little white spacers are used to space the tile apart for the grout between tiles.
We continue to tile until we have reached the ceiling.
Note the second accent strip about 6 feet from the floor.
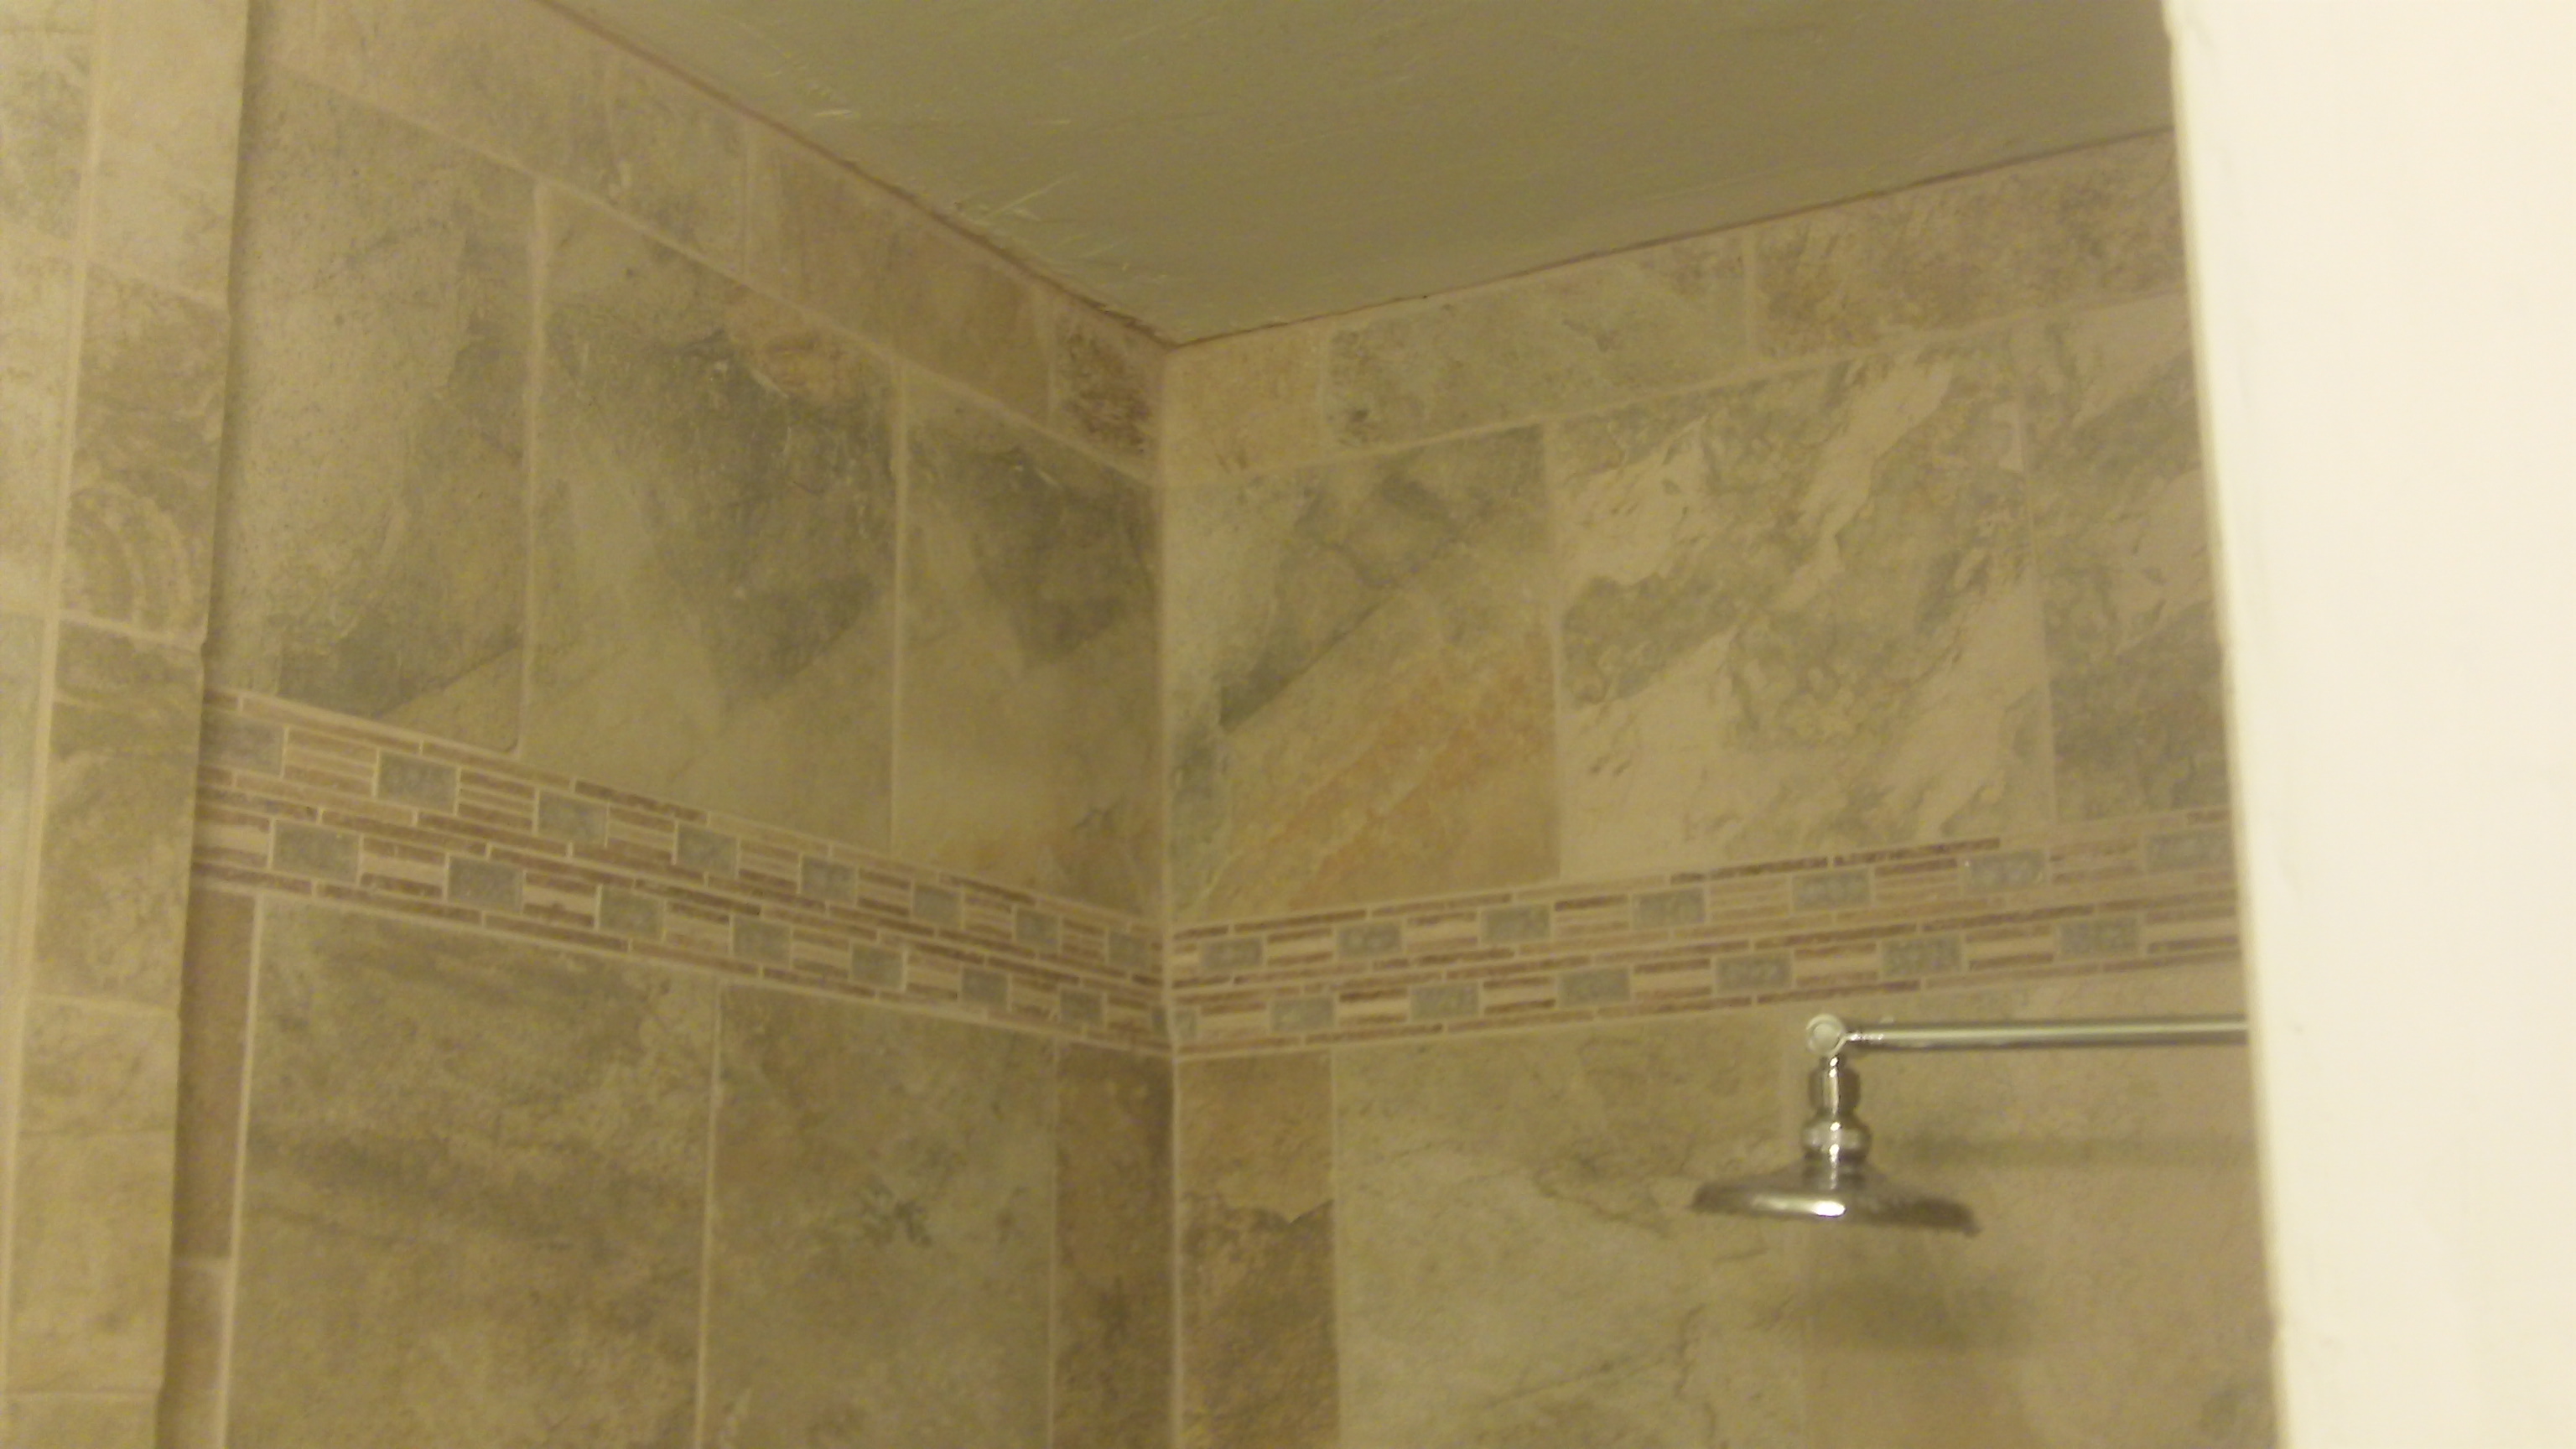
Shower dam and shower floor.


It's showtime.